- Instant email delivery
- Global licenses
- Secure checkout
- 24/7 customer support
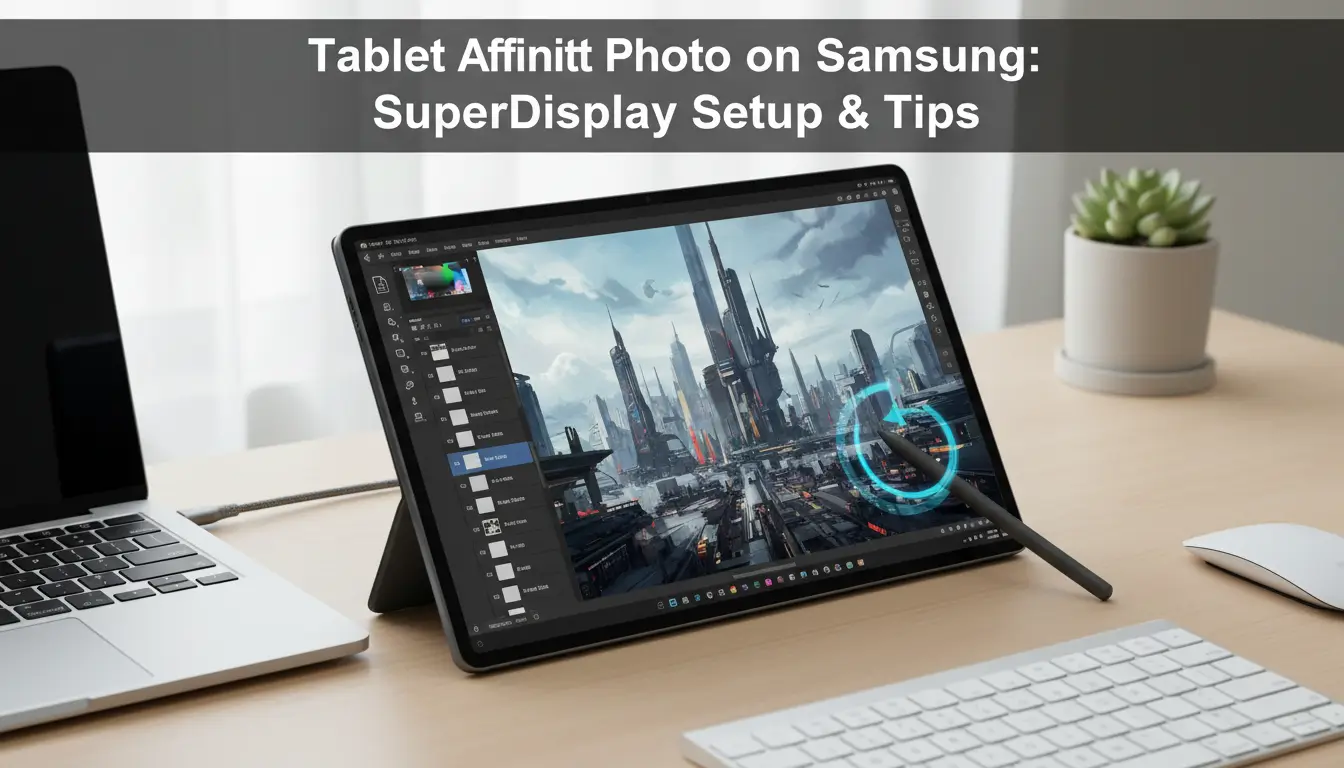
tablet affinity photo on a Samsung tablet gives you a truly portable, touch‑first editing and painting environment without compromising professional features. On devices with an S Pen and high‑contrast AMOLED displays you get precise pressure and tilt control, excellent color, and a tactile workflow that feels like working on glass. Affinity Photo supports PSD files, RAW development, full layer stacks and non‑destructive adjustments, so you can move projects between desktop and tablet with confidence. Hardware acceleration keeps brushes and live filters responsive, while gesture and touch shortcuts speed up repetitive tasks. For a quick introduction to the current Affinity releases, see this Affinity V2 overview.
Pairing Affinity Photo with a tool like Super Display transforms the tablet into a responsive pen display for detailed retouching and illustration. Super Display mirrors or extends your desktop, forwarding pressure and tilt so brushes behave exactly as they do on a dedicated pen monitor. The result is lower latency, pixel‑accurate positioning and the ability to work at native tablet resolution — ideal for fine selections, dodge & burn, or digital painting. Since Affinity Photo maintains PSD compatibility and full layer fidelity, you can finish detailed work on the go and then continue on desktop without file translation issues. Get the app and official resources from the Affinity site if you need downloads or setup guidance.
tablet affinity photo on a Samsung tablet is a great workflow — start by installing Super Display on your desktop (Windows) and the companion app on your Samsung tablet. On the desktop, install the Super Display server and any required display drivers; on the tablet, get the Super Display APK from the Play Store or the vendor site. For a USB connection enable USB debugging on the tablet (Developer Options) and plug in with a quality cable; the desktop server should detect the device. For Wi‑Fi, make sure both devices are on the same network and accept the pairing prompt. Choose mirror or extend in the Super Display menu, then adjust resolution, scaling, and refresh rate to match your needs. If you need a quick reference for Affinity versions, see this Affinity V2 information.
Once connected, open Affinity Photo and create a new document. Verify touch works by using two‑finger gestures (pan/zoom) and test the pen on a brush or new layer to confirm pressure sensitivity and tilt. If pressure isn’t detected, check Super Display’s “pen input” option and install any Windows tablet/pen drivers (Wintab or Windows Ink) required by your stylus. In Affinity Photo’s Preferences → Tools, ensure “Use Windows Ink” or the appropriate tablet support is enabled and select the correct input device. Do a practical test: draw strokes with varied pressure and try erasing with the stylus eraser to confirm full functionality. For extra setup tips and troubleshooting, consult the official Affinity getting started guide.
When setting up tablet affinity photo, follow these concise steps to get accurate mapping, pressure sensitivity and gesture control before you begin edits.
For official setup steps see the Affinity getting started guide and, if you need a licensed copy, check Affinity V2 details.
For tablet affinity photo users, display and performance choices make a big difference. If you experience brush lag or sluggish live previews, first lower the tablet’s display resolution or reduce the refresh rate — these simple adjustments often cut noticeable latency. Also enable hardware acceleration in Affinity Photo’s Preferences when your GPU supports it to accelerate composites, brushes, and live rendering. Close background apps and ensure the tablet isn’t power-throttled to keep responsiveness consistent.
Fine-tune the quality vs. speed slider in any mirroring app (for example, Super Display) to find the right compromise for painting and retouching. Start on a balanced or performance preset and only raise quality once brushes and live filters are smooth. Lowering stream resolution reduces GPU load and can improve brush latency more than lowering sharpness, while reducing frame rate targets bandwidth. In Affinity Photo, confirm GPU options like “Use GPU” or “Hardware Accelerated Rendering” are enabled and restart the app. Test with complex strokes and live adjustments, and keep CPU/GPU-heavy background processes closed. For official guidance and downloads, see the Affinity help and downloads page.
When you’re ready to upgrade or check licensing options, review Affinity V2 details for the desktop versions and compatibility notes.
When working on a tablet, tablet affinity photo performance hinges on a few preference tweaks. Start in Preferences > Performance: raise the cache tiles to 4–8 and increase the undo/history levels so large edits don’t force constant recomputation. Increase memory allocation if available, but leave headroom for the OS.
For more details and official guidance, see the Affinity help center and consider checking the Affinity V2 product page for recommended system specs.
Working on a tablet blends broad touch navigation with the S Pen’s fine control — and getting the balance right makes editing faster and more natural. Use multi‑touch gestures (pinch to zoom, two‑finger pan and rotate) to move around the canvas quickly, then switch to the S Pen for detailed strokes, selection nudges and masking. In your brush settings, tune pressure response and tilt sensitivity so line weight and texture match your hand movements. Enable a steadying or stabilization option when drawing long curves, and set a comfortable pressure curve to avoid sudden jumps in opacity or size.
Map the S Pen button to a quick action you use most often (toggle erase, hold-to-sample, or temporary pan). Customizing that single physical shortcut removes repeated mode switches and keeps your workflow fluid. Equally important: enable palm rejection and adjust its sensitivity so your hand resting on the screen doesn’t introduce stray marks. If your app or device offers a precision cursor or hover preview, turn it on for accurate placement before you touch down. For an alternative display or bundle options for Affinity apps, see this Affinity V2 resource.
tablet affinity photo users should start by calibrating tilt and pressure, then test a set of brushes at varying pressures to learn how the engine responds. Map the S Pen button to a temporary tool switch (for example, hold to pan or sample), and use two‑finger gestures to rapidly reframe composition without altering brush settings. Keep palm rejection active and increase its threshold if accidental strokes appear; if you use a glove, reduce rejection to restore responsiveness. These small setups dramatically reduce interruptions and let you stay in a creative flow.
When using tablet affinity photo with an S Pen, start by calibrating pressure curves and testing brush dynamics so strokes feel natural from the first mark. Create a dedicated test layer and draw slow-to-fast strokes, adjusting the curve so light taps register without lag and heavy presses don’t clip.
For step-by-step guidance on Affinity settings and gestures, see the official Affinity help center and consider checking Affinity V2 resources if you want optimized presets for newer devices.
tablet affinity photo workflows work best when the canvas and tools are arranged for thumb-and-pen reach. Keep a compact, reachable workspace with only essential panels visible—layers, brushes and history—plus a small floating toolbar for zoom, rotate and undo. Place your frequently used brushes in a visible brush palette and use larger brush caching sizes so strokes feel immediate and natural on pen input. Enable canvas rotation and fingertip gestures but lock panels to avoid accidental changes. After you’ve tuned sizes and smoothing, save a custom workspace so you can return to the same layout on other devices. For official downloads and updates check Affinity V2 and the Affinity official site for tablet-specific guides.
Increase brush caching (tile size and cache memory) to reduce lag and allow softer, more organic strokes; this is especially helpful with high-resolution canvases. Lower spacing and slightly raise jitter smoothing for pressure-sensitive pens, and map pressure to size and opacity independently. Create dedicated brush duplicates for pen tilt vs. stylus-only use, then save them as custom tool presets so a single tap loads your preferred pen behavior. Assign the most-used preset to the quick toolbar or a keyboard shortcut on a connected keyboard. Be mindful of memory: very large cache settings improve feel but increase RAM use, so balance cache size with your tablet’s specs. Finally, export your custom tool presets and workspace to restore them after updates or when switching devices.
If you work on a tablet affinity photo setup, choose the right export format for your destination and embed color profiles to ensure consistent output across devices. For printing or high-end retouching, export TIFF or PSD with an embedded ICC profile and use 16‑bit (or higher) where available to preserve dynamic range. For web and mobile delivery, convert to sRGB and export 8‑bit PNG or JPEG for smaller files and predictable browser rendering.
Keep a layered master (.afphoto or PSD) so you can return to nondestructive edits; flatten or rasterize layers only when a target application requires it (for example, some legacy RIPs or specific web compositors). When flattening, do a final soft-proof in the destination profile and then embed that profile. Avoid destructive downsampling before final proofing—work at full resolution and bit depth until export.
Be aware of transparency and alpha handling: PNG and TIFF support transparency, JPEG does not. If you need print-ready vector or page layout formats, export a high-resolution PDF with embedded profiles and fonts where possible. For cross-application compatibility, save a PSD copy when sharing with Photoshop users.
For download or purchase links, find official installers and help on the Affinity site and consider a reputable distributor if you need a licensed copy: Get Affinity Photo from Serif or learn about licensed options at Affinity v2 at SoftAuthentic.
Quick checklist: set your working space (ProPhoto or Adobe RGB for print, sRGB for web), choose 16‑bit+ for HDR edits, embed the ICC profile on export, select a format that supports needed features (TIFF/PSD for layers and quality, PNG for transparency, JPEG for size), and save an unflattened master. Only rasterize or flatten when a specific workflow or application requires it, and always soft‑proof before final export to catch color or gamut issues.
When using tablet affinity photo for final output, choose file types and color profiles that match the destination. For print, export a TIFF or a high-quality JPEG at 300 ppi, convert to CMYK (or embed the printer’s ICC profile), and include bleed and crop marks if needed. Use lossless TIFF for maximum quality or JPEG at the highest quality setting when file size is a concern; flatten layers and check fonts and transparency before exporting.
For the web, export to sRGB as a JPEG (photos) or PNG (images needing transparency). Aim for visually lossless compression — typically 60–85% quality for JPEGs or PNG-8/PNG-24 depending on color depth — and resize to the display dimensions to reduce file weight. Use progressive JPEGs for faster perceived loading and export metadata only if required.
For more on installation and downloads, see the official Affinity Photo download page and consider checking Affinity V2 options for licensing.
tablet affinity photo users who experience intermittent connection drops or sluggish pen response can usually fix the problem with a few targeted checks. First, ensure your tablet is in the correct USB mode (data transfer or tablet mode, not charge-only), try a different USB-C cable and port, and avoid cheap adapters. Update the tablet drivers and firmware as well as your OS graphics drivers — outdated drivers are a common cause of disconnects and cursor jitter. If you’re running on battery, plug the tablet and host machine into a reliable power source; low power states can throttle USB and Bluetooth radios.
To reduce latency, prefer a direct wired USB connection whenever possible; wireless and Bluetooth connections add unpredictable lag. If you must use a hub, choose a powered USB hub. Also check the host app’s input settings and close background apps that may steal CPU/GPU time. For software-specific guidance or to compare versions, you can review Affinity V2 information from a trusted reseller.
Recommended accessories that improve workflow and protect your investment: a protective case with an adjustable stand for ergonomic angles; a matte screen protector formulated for pen use to maintain tip feedback and reduce glare; and a compact Bluetooth or USB keyboard for shortcuts. Extras like spare pen nibs, a high-quality USB-C cable, and a small cleaning kit are inexpensive but helpful.
Switch USB modes immediately if the tablet appears to connect but doesn’t accept input. Restart the tablet drivers and check for firmware updates; on Windows, reinstall the tablet driver in Device Manager if the device appears with an error. Ensure both tablet and host have sufficient power — many connection issues clear when the tablet is plugged in. For latency, test a direct USB-C connection and disable Bluetooth or Wi‑Fi on nearby devices that might interfere. If problems persist, consult the official Affinity getting-started documentation for compatibility notes and troubleshooting steps.
Using a tablet with Affinity Photo becomes significantly smoother with a few thoughtful accessories. A high-quality pressure-sensitive stylus (with tilt and low-latency response) gives more natural brush strokes, while an adjustable stand or arm positions the display at a comfortable angle to reduce fatigue during long retouching sessions. For color-critical work, a color-calibrated external monitor and a simple calibration device keep your edits consistent across devices.
If your projects include vector illustration or page layout alongside raster editing, consider adding dedicated software to your workflow. Affinity Designer pairs well for vectors and can be purchased as a one-time option like Affinity Designer (lifetime). For broader compatibility or different feature sets, check vendor resources on the Affinity official site for downloads and comparisons.
Investing in these tools streamlines production, reduces repetitive corrections, and helps you get the most from a tablet Affinity Photo setup without changing your core editing habits.
Join Our Community Now!
Subscribe to our notifications and get an instant 10% off on your next purchase! Stay ahead with our latest updates, exclusive deals, and insider tips.



 Autodesk
 Design Softwares
 CorelDraw
 Affinity V2
 Microsoft & Windows
 Windows
 Microsoft 365