- Instant email delivery
- Global licenses
- Secure checkout
- 24/7 customer support
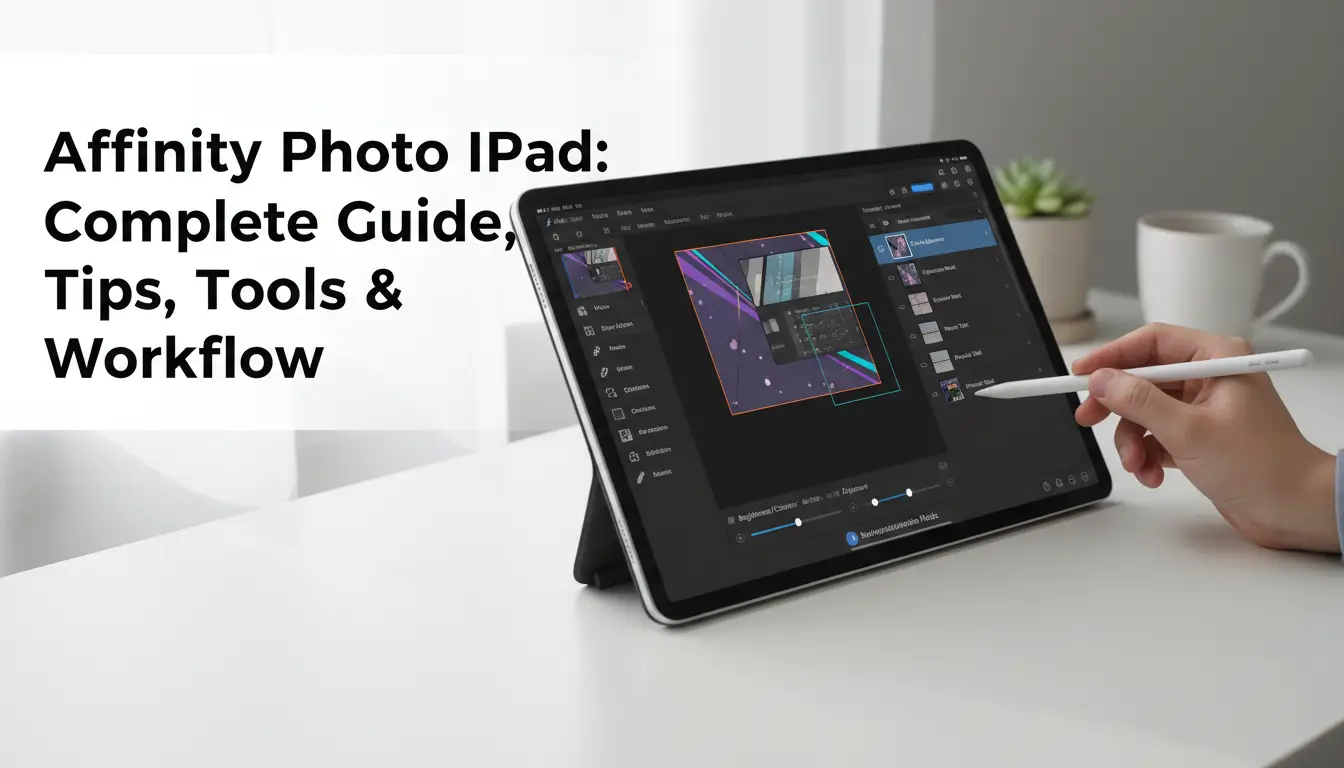
affinity photo ipad brings a true desktop-class image editor to the tablet, combining pro-level tools with touch-first workflows. On iPad it feels less like a stripped-down app and more like the full studio experience: full-resolution layer handling, RAW support, advanced retouching and PSD compatibility, all optimized for Apple silicon and Metal acceleration. The app’s workflow is designed for precision—fast gestures, intuitive selection refinements and seamless exports—so photographers and creatives can complete complex edits away from a desktop. If you’re comparing alternatives, see a curated Affinity offering here: Affinity V2 on SoftAuthentic.
What makes the iPad version stand out is its native Apple Pencil integration and non‑destructive architecture. Pressure, tilt and latency-aware brushes give painters and retouchers the same tactile feedback they expect from a graphics tablet, while live filters, adjustment layers and unlimited undo keep every change reversible. The app mirrors a near-desktop feature set—frequency separation, lens corrections, panoramas and batch processing—so heavy projects remain manageable on a tablet. Performance optimizations mean large files, multi-layer documents and complex masks stay responsive. For downloads, licensing and official resources, visit the official Affinity site to choose the best install path for your devices.
affinity photo ipad brings a rethought interface that prioritizes touch and Apple Pencil workflows without sacrificing desktop power. The main toolbar is context-aware: tools appear and rearrange depending on whether you’re painting, retouching, or compositing, and studios (Layers, History, Adjustments) collapse into compact panels that can be docked or floated for a clean workspace. Touch-friendly sliders and large actionable icons make one-handed work practical, while the Pencil receives pressure, tilt and double-tap support so brushes behave like physical tools. Studios are designed for minimal occlusion — long-press reveals secondary actions and the contextual toolbar adapts to the active persona for fast access to the most-used controls.
The app also respects keyboard and trackpad input when connected, so workflow hybrids are seamless. For official download and licensing options, see the Affinity site for details and trial information.
For a convenient place to purchase or learn about the Affinity suite, check Affinity V2 details at SoftAuthentic.
Gestures are the speed engine: pinch-to-zoom and two-finger pan let you navigate quickly, while two-finger rotate adjusts canvas orientation without switching tools. Long-press opens contextual menus and quick toggles, and touch shortcuts let you temporarily access alternate tools (for example, temporarily switching to the Move tool while holding). With Apple Pencil, pressure and tilt translate to brush dynamics and opacity, and the Pencil’s double-tap (on supported models) can be mapped to undo or tool toggle. Combine these gestures with snap, grid and edge-snapping inside studios for precise, fast edits on the go.
On the affinity photo ipad, sensible layout and toolbar customization cut repetitive taps and speed up common edits. Start by docking the panels and frequently used tools where your thumb naturally rests: keep brushes, layers, and adjustments within easy reach. Use the app’s toolbar editor to remove seldom-used tools and create a compact, task-focused set for retouching, compositing, or painting.
Save multiple workspace layouts so you can switch between retouch and layout modes without rebuilding your setup. Small details matter: group related tools, pin a shortcuts panel for your most-used actions, and position the color picker near the brush controls to avoid context switching. Combine custom toolbars with touch gestures (two-finger undo, quick taps) to minimize menu dives.
For a quick walkthrough of the app’s interface and official tips, see the Affinity getting started guide. If you want the latest Affinity V2 options for desktop and iPad workflows, check Affinity V2 on SoftAuthentic.
Working on the affinity photo ipad begins with a compact, reliable toolkit and consistent layer habits. You’ll use Selection brushes, Healing, Clone, Adjustment layers and Groups every day to stay non-destructive and efficient. Start new documents with named layer groups (Background, Retouch, Color, Effects) and create adjustment layers above groups so corrections remain editable. Prefer masks over erasing, use clipped adjustments for targeted tones, and convert to pixel layers only after you’re confident. For downloads, tutorials, or to compare versions, visit the official Affinity website or check these Affinity V2 resources for helpful extras and updates.
Official Affinity site · Affinity V2 resources
On the iPad, get comfortable with pressure-sensitive selection brushes and the refine edge control for quick cutouts. Use the Healing brush first for small texture fixes and switch to Clone for reconstructing missing detail; sample from a nearby source and work with low opacity across several passes. Adjustment layers (Curves, HSL, Levels) should be stacked above pixel work so you can toggle or fine-tune without redoing masks. Keep layer groups shallow and descriptive so you can collapse complex edits when reviewing. A practical routine: duplicate the base layer, perform major compositing in one group, retouch in another, and apply global color via a top-level adjustment layer — this keeps nondestructive editing predictable and fast on the affinity photo ipad.
On the iPad, using non-destructive adjustments and live filters keeps edits reversible. Start with Adjustment Layers (Levels, Curves, HSL) rather than applying changes directly to pixels; these sit above your image and can be toggled or masked. Live Filter Layers (Gaussian Blur, Unsharp Mask, etc.) let you refine strength and blend modes while preserving the source layer beneath. Use layer masks to paint where effects apply, and clipping masks to confine adjustments to a single layer.
Stack adjustments thoughtfully: place global corrections low in the stack and creative grading above, so you can reorder or disable groups without losing work. Use opacity and blend modes to fine-tune impact, and convert groups to snapshots if you want multiple reversible variants. For more on workflows, see the official Affinity getting started guide, or check detailed purchasing and version information at Affinity V2 details on SoftAuthentic.
On the iPad, affinity photo ipad brings a tactile, precise selection and masking workflow — learning a few best practices will dramatically improve your extractions and composites. Start each job by choosing the right selection tool: Selection Brush for organic subjects, Flood Select for large uniform areas, and the Pen tool for geometric shapes. Refine selections immediately with Refine Edge and Feather to avoid hard halos. Use zoom and Apple Pencil pressure sensitivity to paint accurate edges; reduce brush flow for gradual transitions and build masks non‑destructively.
Understand when to use vector versus pixel masks. Vector masks (created with the Pen tool or Shape layers) are perfect for crisp, scalable cutouts and layouts; pixel masks are ideal for soft hair, foliage, and painterly blending. Keep masks editable: invert, paint with soft black/white brushes, and use density/feather sliders rather than permanently erasing pixels. When compositing multiple images, match perspective and lighting first — transform and warp layers before masking, then add global live adjustments (Levels, White Balance, HSL) clipped to groups to harmonize tones.
Organize layers into groups, use blend modes (Multiply/Screen/Overlay) sparingly to integrate shadows and highlights, and add subtle edge cleanup with the Clone and Healing brushes. Save incremental versions and use layer visibility to test placements. For a deeper dive into compatible tools and downloads, see the Affinity V2 on SoftAuthentic for details about the app and extras.
Begin with a rough selection, then immediately click Refine to soften edges — this keeps hair and fur natural. Convert the selection to a pixel mask for soft transitions or to a vector mask for sharp objects. Paint masks with low-opacity brushes to blend edges; use the Erase/Reveal technique instead of hard cuts. For multi-image composites, create a separate group per subject, apply clipped adjustment layers to match color and contrast, and use subtle vignette or gradient masks to anchor subjects into the scene. If you need step-by-step guidance, the Affinity help and tutorials offer practical walkthroughs for iPad workflows.
On the affinity photo ipad, small adjustments to feathering and selection refinement are what turn a good composite into a natural one. Start by making a precise Selection Brush pass, then tap Refine to smooth, feather and shift the edge until hairlines and soft materials look believable. Use the Feather slider sparingly to avoid halos.
For masks, paint with a soft brush on the mask layer and enable Pencil pressure controls in the Brush settings so opacity or flow responds to your Apple Pencil. Light strokes blend edges; firmer pressure restores detail. Toggle View Mask to check transitions and use a low-radius Blur on the mask for microscopic softening when needed.
Want downloads or more on the app? See the official Affinity Photo resources on the Affinity Photo official page or check compatible builds at SoftAuthentic.
Workflows that start in the Develop persona give you the best foundation for high-quality retouching. Begin with RAW files to preserve highlight and shadow detail, correct exposure and white balance, and remove lens distortions before any pixel-level cleanup. Making these base corrections first keeps edits non-destructive and consistent across versions, saving time when you later move into detailed retouching and compositing.
For more on recent feature updates that improve RAW handling and mobile performance, see this overview of Affinity v2 features.
On the iPad, the Develop persona is where to set your image’s global character. Import RAW, use the histogram to guide exposure shifts, recover highlights with the recovery sliders, and refine midtones with tone curves. Tackle white balance and HSL to get accurate color before any cloning or healing — those pixel edits are easier on a neutral base. Enable lens corrections and remove chromatic aberration early to avoid working around edge artifacts later. Take advantage of local masking and subtle noise reduction for cleaner detail without destroying fine texture.
When global adjustments look right, switch to the Pixel persona to bake edits and perform brush-based retouching, frequency separation, or composites. For step-by-step guidance on getting started with RAW and the Develop persona, consult the official Affinity getting-started guide.
On the Affinity Photo iPad, brushes and retouch tools are fast and tactile — whether you’re doing subtle skin work or dramatic composites. Start with good brush hygiene: create non-destructive layers, use masks, and keep separate layers for healing, cloning and paint. For broader corrections use the Healing Brush and Patch tools; for precision texture work rely on the Clone Brush with sampled source points. When shaping highlights and shadows, dodge and burn on a 50% gray layer set to Overlay or Soft Light, and paint with low-opacity, pressure-sensitive brushes to maintain natural transitions.
Workflows differ by objective: local blemish removal and color evening rarely need frequency separation, while smoothing large tonal areas without losing pore detail benefits greatly from it. For more on Affinity updates and resources, see the Affinity V2 resource page.
Choose brush presets that match intent — soft round brushes for smooth transitions, textured brushes to maintain skin grain. Keep flow and opacity low (10–30%) for dodge and burn, and build up in multiple passes. For frequency separation, duplicate the image into two layers: low frequency (Gaussian Blur for color and tone) and high frequency (apply High Pass or use Affinity’s Apply Image technique for texture). Edit the low layer with healing and color tools; edit the high layer with clone/heal at 100% to preserve texture. Use a subtle radius for skin — too large and you’ll lose natural detail; too small and the color corrections look patchy. For official feature docs and downloads, consult Affinity Photo’s guide.
On the affinity photo ipad you can create or import brushes quickly to match any retouching style. Tap the Brushes panel, choose + to make a new brush from a raster or vector source, or use the menu’s Import option to load Affinity .afbrushes or Photoshop .abr packs. Naming and grouping brushes into a set keeps your workflow tidy.
Adjust dynamics in Brush Studio to optimize for Pencil input: enable Pressure for size and opacity, add Tilt for angle-sensitive strokes, and tweak smoothing and jitter to reduce hand tremor. Test strokes on a neutral layer and refine spacing, flow and scatter until the brush feels natural for dodging, cloning or painting.
Save the finished brush as a preset and export the set so you can reuse it across projects or devices. For deeper setup tips, see the official Affinity help center and check resources for Affinity products if you need bundles or extras.
Affinity help center · Affinity V2 resources
Getting the most from Affinity Photo iPad starts with export and a tidy Apple Pencil workflow. When preparing files for web, print or collaboration, choose the correct format early: JPEG/PNG for screen, TIFF or PSD with layers for print and cross-app editing, and PDF for multi-page or client proofs. Use the Export Persona to batch-export slices and presets; for print set 300 dpi and embed color profiles. For smaller delivery sizes, downsample large embedded images and export at 72–150 dpi, or use the “Quality” slider on JPEG. Consider exporting layered PSD only when you need layer fidelity; otherwise flatten or rasterize heavy filters to cut file size.
Keep projects responsive by converting very large layer groups to pixel layers, trimming unused history states, and avoiding excessive live filters and huge adjustment layers. Use linked images where possible and masks instead of duplicated pixel layers to save space. Close background apps, and occasionally restart Affinity to clear caches. For more on desktop releases and related tools, see the Affinity V2 collection.
Optimize your Pencil use by assigning the double-tap to undo or brush mode, using tilt for natural shading and pressure for opacity/size control. In Brush Studio, enable stabilization and lower spacing for smoother strokes without heavy smoothing calculations. If you notice lag, reduce brush hardness or size, rasterize complex vector shapes, and switch off live previews for intensive effects. Save iterative versions rather than relying on a single huge file, and export final assets at required resolutions.
For official tips and updates, check the Affinity help center.
On the iPad, picking the right export settings saves time and preserves quality. Use the Export Persona to choose formats (JPEG/PNG/TIFF/HEIF/PSD), set resolution and color space (sRGB for web, ProPhoto or Adobe RGB for print), and adjust compression. Create and reuse Export Presets for common targets — web, social, press or layered TIFF/PSD for further editing.
Use slices to export artboards or multiple assets at once, name outputs clearly, and embed metadata or ICC profiles when needed. For final delivery, sync or transfer files to desktop Affinity or cloud services via iCloud, AirDrop, Dropbox, or direct save. If you maintain a desktop workflow, consider exporting layered PSD/TIFF for maximum fidelity.
Learn more about desktop options at Affinity desktop versions and get the official downloads and guidance at Affinity downloads and guidance.
Join Our Community Now!
Subscribe to our notifications and get an instant 10% off on your next purchase! Stay ahead with our latest updates, exclusive deals, and insider tips.



 Autodesk
 Design Softwares
 CorelDraw
 Affinity V2
 Microsoft & Windows
 Windows
 Microsoft 365