- Instant email delivery
- Global licenses
- Secure checkout
- 24/7 customer support
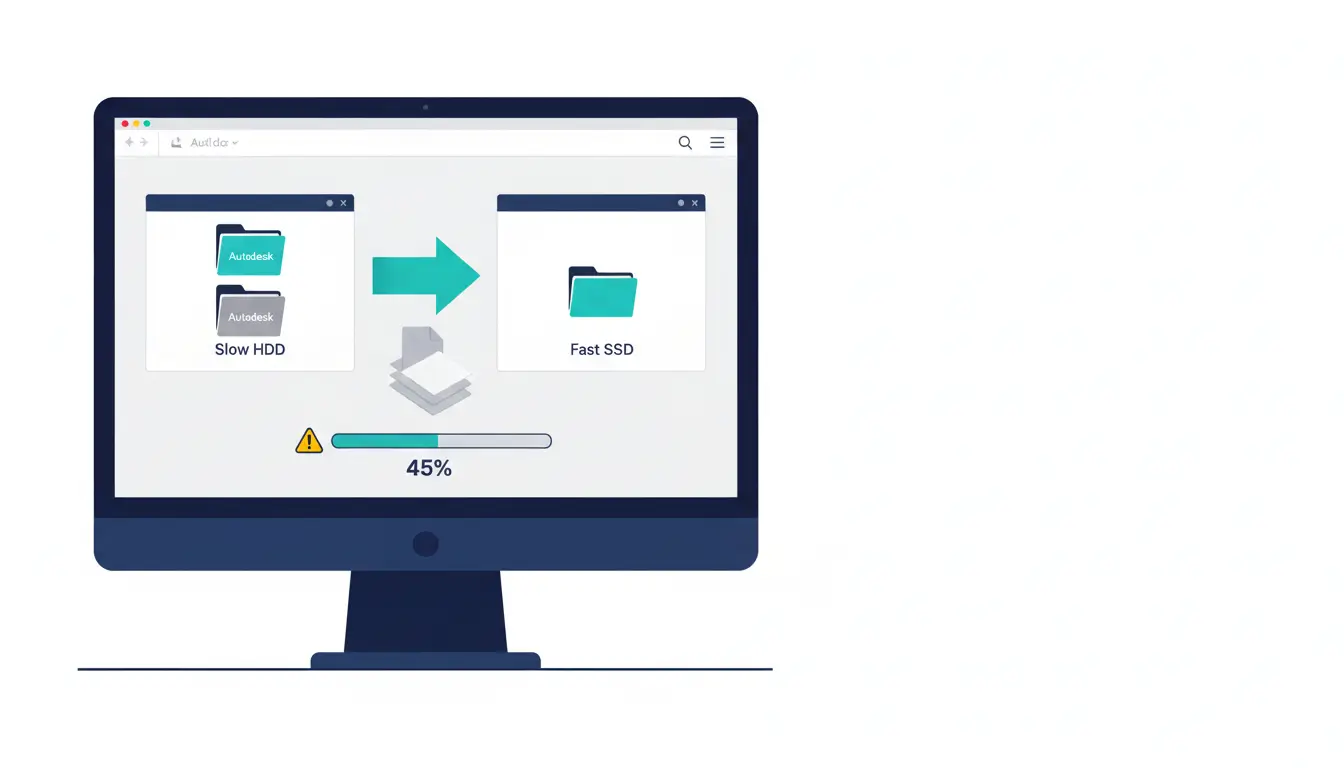
move autodesk to another directory is often necessary when disk space, performance or corporate policies demand it. Moving large Autodesk installations or their project libraries can free critical disk space on a system drive, place heavy files on a faster SSD or network volume, and resolve permission or storage-location policies enforced by IT. Understanding why you need to relocate files first helps choose the safest method and avoids corrupting installations or breaking project references.
Common motives include offloading bulky libraries (templates, caches, assets), consolidating project data on a shared storage device, or keeping OS and apps separate for easier backups. Before any move, back up your projects, note license and Autodesk account details, and check product-specific guidance—see the Autodesk website for official documentation and support.
Decide whether you need to move only user data (projects, libraries, caches) or the installed application itself. The safest approach for applications is uninstalling and reinstalling to the target directory using the official installer. For data, move folders and update paths inside the app or use managed network locations. Symlinks or NTFS junctions are a viable workaround when reinstalling isn’t practical, but they require care with permissions and updates. If you run multiple Autodesk products or collections, consult a consolidated resource like the SoftAuthentic Autodesk hub to confirm recommended locations and known caveats. After moving, open a few projects to verify references, and ensure licensing and background services start correctly.
If you plan to move autodesk to another directory, stop and prepare—this is the stage that prevents lost work and painful reconfiguration. Always back up active project folders, custom templates, tool palettes, block libraries, and any CAM or post‑processor files. Export preference files and registry settings where possible (many Autodesk apps provide export options for preferences, menus and tool palettes) and make a copy of any support paths used by plugins.
Use at least two safe copies: one local (external HDD or NAS) and one offsite or cloud archive. Verify integrity by opening a representative file from each backup. Check available disk space on the target drive and ensure the OS and filesystem meet the application requirements before moving installers or program files. Collect serial numbers, product keys and your Autodesk account credentials up front—if the product uses named user licensing, confirm that the Autodesk account can sign in and that you have admin rights to reassign seats if needed.
If you rely on network licenses, notify your license admin and confirm deactivation/reactivation procedures. Plan downtime and document current installation paths so you can revert if something fails. For official support pages and system requirement details, see Autodesk support and system requirements.
For a consolidated source of installers, license bundles and product guides from our catalog, visit our Autodesk downloads and licenses.
Before you move Autodesk to another directory, export any application settings (where the app provides an Export/Import or migration utility), and copy custom templates, tool palettes, profiles, and configuration folders to a safe backup location. Record product keys, serial numbers and subscription details—keeping a screenshot or a secure notes file helps if the original install metadata is lost.
If you use the Autodesk Desktop App or cloud-based licensing, sign out of the Desktop App and confirm your product is deregistered on the machine. For standalone activations, use the product’s Deactivate or Transfer License option so you won’t trigger unwanted reactivation problems after moving files. If unsure, check your Autodesk account for license records.
Store the exported settings and license notes with your project backup. For reference on product listings and downloads, see our Autodesk product pages and consult Autodesk account & licensing for official guidance.
The safest approach to move Autodesk installations is a clean uninstall followed by a fresh install that lets you choose the new installation path in the installer. This prevents broken registry entries and missing shared components that often occur with manual folder moves. Before you begin, export custom tool palettes, templates, and profiles, and record product serials and activation information. If you work primarily with AutoCAD, consult the Autodesk AutoCAD product page for product-specific notes. Also check licensing and product support details on the Autodesk official site to avoid activation interruptions.
1. Sign out of Autodesk accounts and back up all user data (templates, blocks, plug‑ins, and profiles). 2. Uninstall via Control Panel or Autodesk’s Uninstall Tool; follow prompts to remove shared components only when safe. 3. Manually check and remove leftover folders in Program Files and ProgramData related to the product, but do not delete shared redistributables if other apps need them. 4. Reboot the system. 5. Run the installer as Administrator, choose Custom Install, and set your new target directory. 6. After installation, restore your backups, re‑activate the license, and open a representative project to verify assemblies and references. If anything is missing, use the Autodesk Repair option or reinstall the specific shared component rather than moving files manually.
When you need to move Autodesk to another directory, follow this compact checklist to keep licenses, preferences, and productivity intact.
For product-specific guidance, see SoftAuthentic’s Autodesk products page or consult Autodesk official support for licensing help.
If you need to move autodesk to another directory because reinstalling to a new drive is impractical, a common workaround is to relocate large program or data folders and create NTFS junctions or directory symlinks so Autodesk still sees the original path. This method preserves file paths that installers and applications expect without changing registry entries, but it is a workaround—not a supported install method—and can affect updates, licensing checks, or support eligibility.
Basic approach: fully close the Autodesk applications and related services, copy the folder (use a robust tool like robocopy to preserve permissions), rename the original folder as a backup, create the junction/symlink from the original location to the new drive, then test the application. Use junctions (mklink /J) for maximum compatibility with older Windows applications; directory symlinks (mklink /D) also work but may behave differently for some installers. Always keep a verified backup and be prepared to restore the original layout if something fails.
If you want product-specific notes or installer guidance, see our Autodesk collection. For official supported installation policies and risks, consult the Autodesk website.
Quick commands (run an elevated Command Prompt). Replace paths with your actual folders and test carefully:
robocopy "C:\Program Files\Autodesk\MyApp" "D:\Autodesk\MyApp" /MIR /COPYALL /R:3 /W:5
rename "C:\Program Files\Autodesk\MyApp" "MyApp.old"
mklink /J "C:\Program Files\Autodesk\MyApp" "D:\Autodesk\MyApp"
After creating the junction, launch the app and verify functionality. If problems occur, remove the junction, restore the original folder, and consult vendor support. Remember that updates or licensing servers may still expect a clean install location.
When you need to move autodesk to another directory, use an elevated Command Prompt, move the folder physically, then create a junction so existing paths remain valid. Typical safe workflow:
mklink /J "C:\Original\Path" "D:\New\Path".Test thoroughly: updates, installers and licensing tools may not recognize junctions and could fail to patch, update, or repair installations. Keep backups and note any registry keys or licensing files that reference absolute paths. If you encounter installer errors, consider reinstalling to the target drive or using vendor-supported relocation tools. For product-specific guidance, check the AutoCAD information page provided by our site, and consult Autodesk’s official support for compatibility notes.
AutoCAD info · Autodesk official site
If you move autodesk to another directory, take a methodical approach: shortcuts, PATH entries and registry keys often still point to the old install location and will break program launches, plugins and file associations. Before making changes, create a full system restore point and export any registry branches you plan to edit — never modify keys unless you know the exact entries to change.
Practical steps:
If you need reference materials, consult the official Autodesk documentation and support resources on the Autodesk site or browse community product pages at SoftAuthentic’s Autodesk listings for guidance on particular products.
When you move Autodesk files, the simplest immediate fix is to update environment variables. Edit both the user and system PATH to remove the old path and add the new one; use absolute paths and avoid trailing backslashes. For registry edits, search for the old install path and only change values tied directly to your moved application. If a registry value is linked to licensing or GUIDs, do not alter it — instead use the product’s repair or reinstall option. Finally, test by launching the app as Administrator and verifying that templates, add-ins and licensing services start normally. Keep backups of any file or registry export until you confirm everything works.
If you plan to move autodesk to another directory, plan for shared components that live outside each application’s folder: plugins, content libraries, and the Network License Manager often remain in separate locations and break when paths change. Start by inventorying third‑party plugins, content folders (templates, families, tool palettes) and license server settings. Back up configuration files and registry exports before you modify anything.
After changes, run each application in turn and check the Notice/Message Center for missing components. If a specific product still fails to locate resources, consult product-specific guidance such as the AutoCAD resources provided by your vendor for migration tips: AutoCAD resources. Keep a rollback plan so you can restore original paths quickly if something breaks.
Checklist for a reliable relocation: stop license services first, copy files preserving permissions, update any absolute paths in plugin manifests and app option dialogs, then restart services and applications. For Network License Manager, update the SERVER and DAEMON entries and rehost the license if necessary; verify with lmtools or the vendor utility. Open a few representative files in each app to ensure content libraries (families, blocks, materials) load; if not, examine the application’s content path settings. For complex environments, consult the official vendor guidance on the Autodesk website and test with a small pilot group before wide deployment.
If you need to move autodesk to another directory, begin by launching the application and opening one or two representative projects to confirm core functionality. First-run crashes, missing plugins, or startup dialogs often point to path, permission, or licensing problems. Use the app’s Repair or Diagnostics tool (when available) to restore missing files and registry entries. If the product starts but behaves oddly, run as administrator, disable third‑party antivirus temporarily, and check that referenced project folders are accessible. For reactivation choose your Autodesk account for online sign‑in or follow the troubleshooting guidance on the official Autodesk site to reset credentials or view licensing status via your account management page.
Close all Autodesk programs and export your custom settings. Back up templates, libraries, and plug‑ins. Prefer the official installer: uninstall or run the installer’s Repair option before changing install paths rather than manually moving files. After reinstalling to the desired directory, launch and open sample projects to validate file associations. If licensing errors persist, clear the local licensing cache, sign out and sign in again, or reactivate through your Autodesk account; if that fails, contact Autodesk Licensing Support for token or entitlement fixes. For product downloads and local installers you can also check SoftAuthentic’s Autodesk product pages for version specifics.
If reinstall or Repair doesn’t resolve activation errors, licensing-server failures, or suspected corrupted components after you move autodesk to another directory, contact Autodesk support. These issues often require server-side checks or diagnostics that go beyond local fixes.
Before you open a ticket, collect the following so support can act quickly:
Provide these attachments in your support case; it speeds diagnosis. For official help, contact Autodesk Support or review product details on our Autodesk collection page.



 Autodesk
 Design Softwares
 CorelDraw
 Affinity V2
 Microsoft & Windows
 Windows
 Microsoft 365