- Instant email delivery
- Global licenses
- Secure checkout
- 24/7 customer support
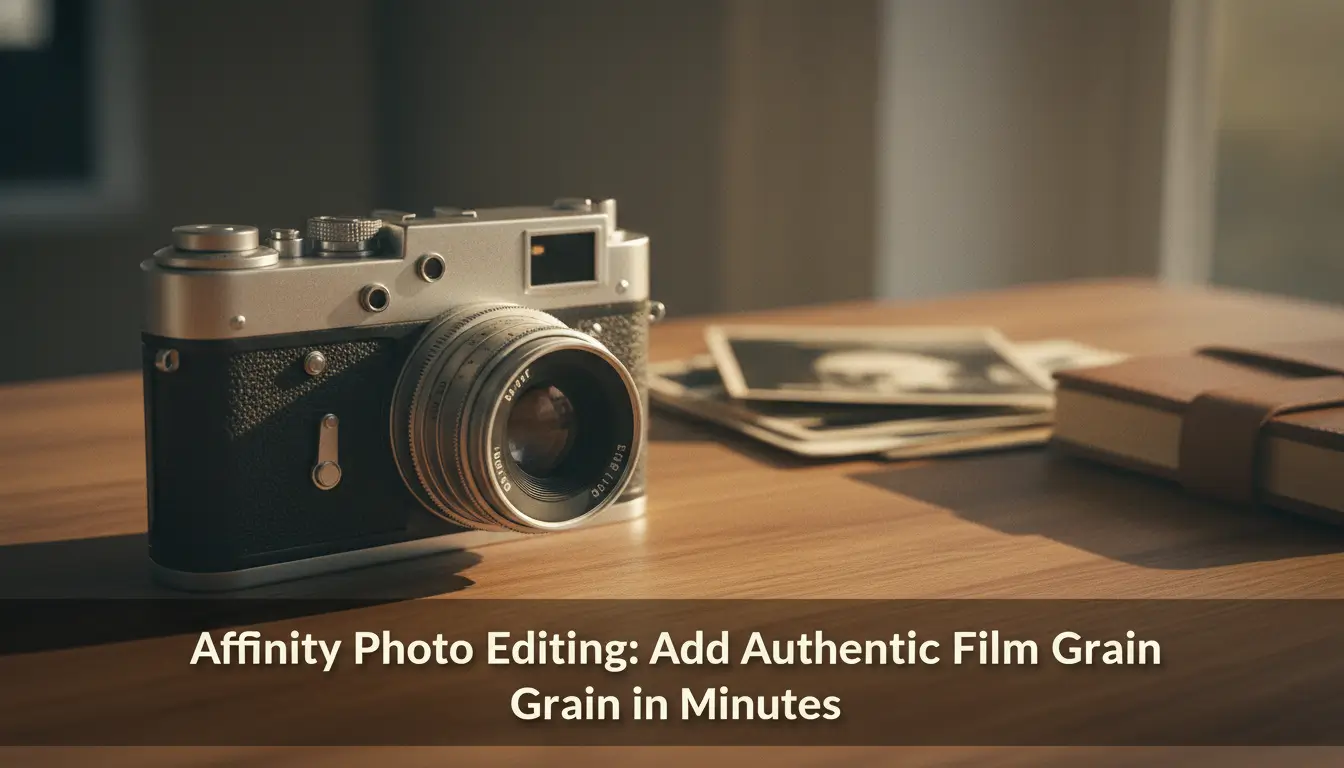
affinity photo editing benefits from adding grain because it reintroduces tactile texture and visual depth that many digital captures lack. Grain softens overly clinical highlights and midtones, breaks up posterization on smooth gradients, and gently masks sensor noise without the plastic look of aggressive noise reduction. For a vintage or cinematic finish, controlled grain helps the eye accept contrast and color shifts by creating a consistent surface quality across shadows and highlights.
Practically, grain is not a one-size-fits-all effect. Pay attention to scale (smaller grain for high-resolution landscapes, larger for low-res or cinematic looks), intensity (subtle is often more believable), and blend mode (Overlay or Soft Light can integrate grain while preserving contrast). Use a separate layer and mask to limit grain to specific regions—faces often need less than backgrounds—or vary grain size across a depth-of-field composite. When paired with gentle color grading and vignetting, grain can unify disparate tonal elements, making composited layers feel like they were shot on the same medium.
If you want more guidance on compatible Affinity tools and bundle options, see the Affinity resources at SoftAuthentic.
Use grain to remove the “digital flat” look when an image feels too clinical or when you want to nod toward filmic aesthetics. Apply it after sharpening and final color grading so the grain sits naturally on the finished image. For cinematic looks, combine medium grain with subtle desaturation and contrast lifts; for authentic vintage styles, add color cast and slightly higher grain. For official downloads and help, visit the Affinity official site.
In affinity photo editing, film grain is a subtle but powerful tool to shape mood and texture. Use grain when you want to add cinematic warmth to low-contrast scenes, hide minor sensor noise without aggressive sharpening, or match the surface quality of separately shot elements so composites read as one image. Keep it subtle: apply grain at reduced opacity, choose grain size consistent with output resolution, and preview at 100% and at final export size. For composites, sample grain characteristics from the background and apply a matching grain layer over foreground elements to unify texture. Avoid using heavy grain to mask major focus or exposure problems — it’s a finishing touch, not a fix for bad capture. If you work in Affinity, consult this Affinity V2 resource for workflow tips and presets. For official downloads and technical notes, see the Affinity official site.
When preparing a file for a subtle, controlled texture, work non-destructively from the first step. In affinity photo editing, start by duplicating the background into a separate pixel layer or group and use Adjustment Layers and Live Filters instead of direct pixel changes. Tackle global exposure, white balance and contrast first — correcting these early reduces the need for heavy local fixes later. Keep clipping to a minimum, maintain a higher bit depth (where possible 16‑bit), and avoid unnecessary upscaling. These basics give you a clean, flexible base before introducing grain.
Duplicate your base layer and perform corrections on copies or in groups so you can revert at any time. Use the Develop persona for RAW corrections or Adjustment Layers (Levels, Curves, White Balance) for non-destructive tone and color control. Apply noise reduction sparingly: remove obvious color speckles and sensor noise with a subtle luminance/color denoise Live Filter, and always mask the filter to protect fine detail. When retouching locally, work on separate pixel layers or use layer masks rather than erasing. If you need a single layer to add grain to the whole image, create a stamped copy (Merge Visible into a new layer) at the top — but keep your editable groups beneath it. This lets you tweak edits or remove grain without losing the original adjustments.
For quick reference on tools and versions, see the official Affinity site for downloads and guidance, and an Affinity-focused resources page for related products and licensing.
For quick grain control, affinity photo editing can be as simple as using the Add Noise filter. This method is fast, nondestructive when applied to a duplicate layer, and ideal for creating a uniform, film-like texture across the image. Start by duplicating the layer, then choose Filters > Noise > Add Noise. Pick Monochrome to avoid color speckles, and adjust the Amount slider to a subtle value — usually between 1% and 8% depending on image size and final output.
Pay attention to Distribution: Uniform produces even granular dots, while Gaussian softens the grain into a more natural-looking scatter. Use the Blend Mode (Overlay or Soft Light) and reduce the layer opacity to integrate the noise without overwhelming detail. If the effect is too strong in certain areas, add a layer mask and paint away the noise where you want smoothness preserved, like skin tones or flat skies. This approach is quick to apply and simple to tweak, making it a go-to when you want consistent grain without complex textures or external presets. If you’re exploring software versions or need a license, see the Affinity V2 information for purchase and upgrade options.
For precise control, set Amount low and test at 100% zoom to judge individual grains. Choose Monochrome for neutral texture, and experiment with Distribution to match the look you’re after. Use a soft mask to confine the effect, and consider applying a slight Gaussian Blur to the noise layer if the grain looks too sharp for print. For official guidance and tips, consult Affinity’s getting-started help page.
In affinity photo editing, begin by duplicating the image layer. Select the copy and choose Filters > Noise > Add Noise. In the dialog pick Gaussian for a natural film-like grain or Uniform for even speckle; check Monochrome if you prefer greyscale noise. Keep the Amount low (try 1–6%) and preview at 100% to judge scale and visibility before applying.
Change the duplicated layer’s blend mode to Overlay or Soft Light to integrate the grain into midtones. If the effect is too strong, reduce the layer opacity (typically 20–60%). For selective application add a layer mask and paint with a soft black brush to hide noise where you want smooth skin or clean highlights.
For more nuanced texture, duplicate the noise layer, apply a very slight Gaussian Blur to the lower copy and set it to Soft Light at low opacity to simulate multi-scale grain. Official downloads are available at the Affinity Photo page, and for version info see Affinity V2 details.
In affinity photo editing, blending a scanned or generated film grain texture over your image gives you a realistic, varied result that mimics analog film. Start by choosing or creating a high-resolution grain texture—scans of real film or noise-generated images work best. Place the texture above your photo, desaturate it, and set the layer to a blend mode such as Overlay, Soft Light, or Screen depending on the look. Use Transform to scale the grain so the grain size matches the image’s apparent focal length; smaller grain suits sharp, distant subjects, larger grain suits close-ups.
Refine the effect with a Levels or Curves adjustment on the grain layer to control contrast and visibility. Add a Gaussian Blur of 0.5–1.5 px if the grain looks too harsh, or apply High Pass blending for a more defined film grit. Use a layer mask to keep grain off smooth skin or important highlights—paint with a soft low-opacity brush to vary density naturally. Finally, lower the grain layer opacity and, if needed, add subtle color tinting or split toning to match film stocks.
For a quick resource or to upgrade your toolkit, check a reliable source for Affinity software like the official Get Affinity page and consider compatible versions such as the Affinity V2 offering for more features.
Choose a grain texture that complements your photo’s resolution and tonal range. Test different textures at 100% view to see how individual grains read at final output size. When matching contrast, use a Curves adjustment clipped to the grain layer so you can target highlights or shadows without altering the photo below. If the grain creates banding on gradients, add a tiny dither/noise layer or slightly increase grain opacity to break the bands. For batch consistency, record a macro or Develop Persona preset so you can apply the same grain profile across multiple images.
Grain is an easy way to add film-like texture or subtle noise to a photo. To create grain from scratch, make a new document at your working resolution, fill with 50% gray, then add Noise (use Fractal or Gaussian). Adjust Levels or Curves until the contrast looks like fine grain, lower the layer opacity, and set the blend mode to Overlay or Soft Light for a natural result.
Alternatively, import a high-resolution grain image: desaturate it, crop or scale so the dominant grains match your image scale, then set the layer to Overlay or Soft Light. If the grain tile repeats, offset and use a seamless tile or clone/clone-stamp to disguise seams; use a slight Gaussian Blur if the grain reads too harsh at final size. Reduce opacity and mask areas where you want less texture.
For more on installing or updating Affinity, see the Affinity download page. If you need a licensed copy, check Affinity V2 details at SoftAuthentic.
affinity photo editing benefits from non‑destructive workflows; this method shows how to add cinematic grain while keeping every decision reversible. Start by duplicating your base pixel layer and placing a Live Filter noise layer above it rather than baking noise into pixels. Use a Live Filter Add Noise (or Noise > Add Noise) and set the intensity low — grain should be felt, not shouted. Change the filter layer’s blend mode to Overlay or Soft Light and lower opacity to taste.
Above the grain layer, add Adjustment Layers such as Curves and Levels to control contrast and the apparent strength of the grain. Clip those adjustments to the grain layer when you want them to affect only the texture, or leave them un-clipped to modify the whole image. Use layer masks on the live filter or adjustment layers to restrict grain to midtones or shadows; invert masks or paint with a low-opacity brush for subtle transitions.
Keep everything editable: group the pixel, live filter and associated adjustments so you can toggle the effect, change noise parameters, or add a soft Gaussian Live Filter to blur and harmonize grain with the image. If you want to compare workflows or upgrade your tools, consider a licensed copy such as the Affinity v2 lifetime edition for a perpetual workflow.
Create a duplicated pixel layer → add a Live Filter noise layer → set blend mode to Overlay/Soft Light → add Curves/Levels above and clip as needed → paint masks to restrict grain → fine-tune opacity and filter parameters. This sequence keeps edits reversible, lets you refine grain interactively, and preserves tonal control with Curves and Levels so the texture integrates naturally without permanently altering your original pixels.
When doing affinity photo editing, subtlety wins. Start by adding your grain layer above the image, then experiment with blend modes—Soft Light and Overlay are usually the most natural, while Multiply or Screen can be useful for very dark or bright textures. Reduce the grain layer’s opacity until the texture reads as detail rather than noise; typical values sit between 10–40% depending on image size and intended output.
Use a dedicated pixel layer for grain rather than applying noise directly to the photo layer so you can toggle and tweak non-destructively. To avoid gritty skin, attach a mask to the grain layer and paint with a low-opacity, soft brush to remove grain from faces, smooth surfaces, and specular highlights while leaving hair, fabrics and textured backgrounds intact. If you need targeted contrast, duplicate the grain layer and change the duplicate’s blend mode or opacity to boost texture only where required.
Keep an eye at 100% zoom and on the final resized view; grain that looks fine at full resolution can become distracting when downsampled. For a quick reference on tools and workspace, see the Affinity V2 details.
Create a neutral gray or noise layer, set the blend mode, then immediately add a mask. Paint with mid-gray (50% opacity) brushes to modulate strength gradually—this avoids hard transitions. Use selection tools or luminosity masks to protect skin tones automatically, and invert selections where you want stronger effect (hair, fabric, grit). If a region needs different grain scale, duplicate the grain layer, apply a subtle Gaussian blur to one copy, and mask each copy to different zones. Finish by nudging global opacity and checking at multiple sizes to ensure the result remains natural and consistent.
Match the grain texture scale to the final output rather than the source file. If you’re preparing a screen-sized export, upscale the grain’s visibility so it reads at smaller resolutions; for large prints, reduce grain size and increase subtlety so it doesn’t appear blocky or muddy at 300 DPI or higher. Always preview grain at 100% of the final output size when possible.
Workflow tips: create a high-resolution grain tile and resample it to the target pixel dimensions instead of stretching a small texture. In practice, adjust the noise intensity and blend mode while viewing at final output resolution, and use a Gaussian blur or directional blur on the grain layer if the print magnifies texture too harshly. For iterative checks, export a quick proof at intended export scale to confirm perceived strength.
For tools and additional techniques, see this concise Affinity V2 resources and the Affinity official site for downloads and guides.
Keep your final steps deliberate: sharpen only after adding grain if you can see detail loss or softening, otherwise leave grain to do its subtle texture work. Export at the resolution and format required for delivery—don’t upsample to chase sharpness. Save any repeatable processes so you can reproduce consistent grain across projects and maintain a reliable end result.
When working in affinity photo editing, establish a target pipeline: choose final DPI and color profile first, then set export dimensions and a format that matches the end use (JPEG/PNG for web, TIFF/PSD for archival and print). If grain affects perceived sharpness, apply a gentle sharpen pass after grain, previewing at 100% zoom. Record your steps as macros, templates, or an exported recipe so the same grain density and adjustment order can be applied across files. For batch work, use consistent naming conventions and a dedicated export folder to avoid accidental overwrites. If delivering multiple sizes, export from the highest-quality master rather than re-editing downscaled files to keep grain and noise behavior predictable. Soft-proof using the intended output profile and inspect at 100% on the intended display or print proof to ensure grain reads naturally.
Finally, link your workflow documentation to a single project template and test a final export on the target device or platform. For more tools and official downloads, see the Affinity Photo official page and consider resources like this Affinity V2 guide for complementary apps.
For efficient affinity photo editing, begin with Affinity’s official documentation and downloads to ensure you’re working with the latest installers, release notes and troubleshooting guides. The official Help pages are the best first stop for step‑by‑step tutorials, keyboard shortcuts and compatibility notes: Affinity Help pages.
Complement official resources with a small, well‑organized library of grain textures, LUTs and macros to speed repetitive tasks. Store textures in a single Assets folder, save commonly used steps as macros, and export presets you can import across machines. Keep a versioned backup and document which macro does what so collaborators can pick up your workflow quickly.
If you need product details or purchase options for Affinity V2 tools, see this curated resource: Affinity V2 on Soft Authentic.
Join Our Community Now!
Subscribe to our notifications and get an instant 10% off on your next purchase! Stay ahead with our latest updates, exclusive deals, and insider tips.



 Autodesk
 Design Softwares
 CorelDraw
 Affinity V2
 Microsoft & Windows
 Windows
 Microsoft 365