- Instant email delivery
- Global licenses
- Secure checkout
- 24/7 customer support
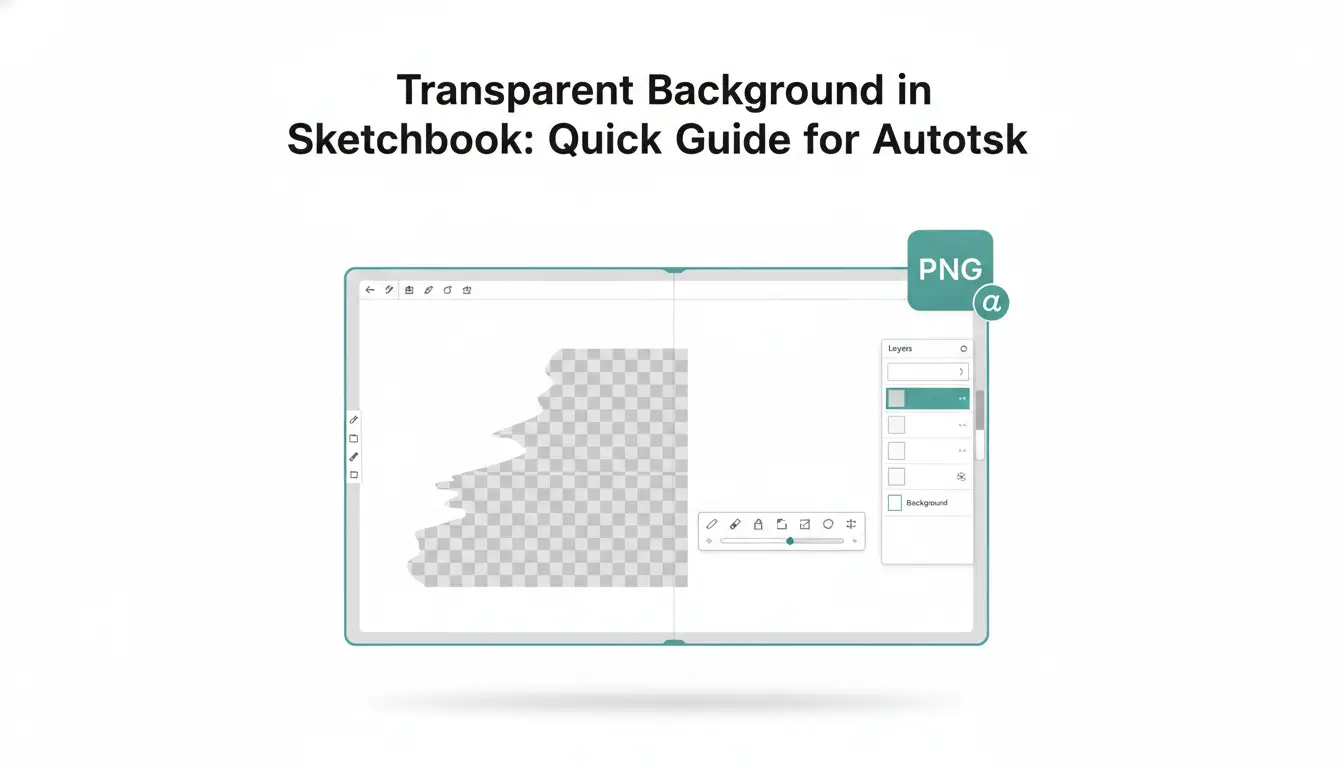
A transparent background in Sketchbook means the canvas contains no visible pixels where the artwork does not occupy space, allowing whatever is behind the image to show through. This transparency is stored as an alpha channel and is most commonly exported as a PNG to preserve those see-through areas. In Sketchbook, the effect is achieved by removing or hiding the default background layer (or turning off its visibility) so the checkerboard pattern indicates empty pixels. When you export, choose a format that supports transparency and confirm the export settings retain the alpha channel. For more on related Autodesk tools, visit the Autodesk software hub.
1) Open your document and locate the background layer in the Layers panel. 2) Either hide the background layer by toggling its visibility or delete it if you don’t need it. 3) Verify the transparent areas show as a checkerboard. 4) Export using File > Export or Share and choose PNG (or another format that supports alpha). 5) In the export dialog, ensure “preserve transparency” or similar is selected. Avoid exporting as JPG (it flattens transparency to a solid color). Note that some image viewers default to a white background; test your file in a program that supports transparency to confirm the result.
Start a new document with the final output size and resolution in mind. For on‑screen work, 72–150 dpi is fine; for print, aim for 300 dpi or higher. Choose RGB for digital deliverables and CMYK only when preparing for print. Before you draw, create multiple drawing layers above the default background layer and keep that background layer empty or hidden so it never contributes color to your export.
Name and organize layers immediately—use clear labels like “lineart,” “base color,” “shadows,” and “highlights.” Group related layers into folders and lock any layers you don’t want to edit accidentally. Consider color‑coding layers or adding numeric prefixes to control stacking order at a glance. Work non‑destructively: use clipping masks, adjustment layers, and blend modes rather than flattening; if performance requires merging, duplicate originals to keep a safe copy.
Before exporting, run a quick visibility check: hide the background layer, toggle groups, and preview what remains visible. If you plan to export multiple elements separately, place them on distinct layers or groups so you can toggle export visibility without reworking art. Small organizational steps save time and prevent accidental backgrounds from appearing in your final file. For compatible tools and product options, see the Autodesk software catalog.
To ensure a transparent background in Sketchbook, begin by confirming the background layer is empty and switched off or deleted. Create your artwork on layers above that empty background, name them clearly, and keep the stacking order tidy. When ready to export, hide any layers you don’t want included and export as PNG (or another format that supports alpha transparency). After export, open the PNG in a separate viewer to check for halos or unwanted semi‑transparent pixels; if you see them, examine the bottommost visible layers for anti‑aliasing and add a thin transparent border or refine edges.
If you need official documentation or download options for Sketchbook and related tools, visit Autodesk’s official site.
To create a transparent background in sketchbook, begin by locating the background layer in the Layers panel — it’s often locked and named “Background” or similar. If it’s locked, unlock it first; then either delete that layer or click its visibility icon to hide it. Once hidden, the canvas should reveal the checkerboard pattern (or a clear canvas on some exports) behind your artwork, indicating transparency.
For broader compatibility or if you need other Autodesk apps while working, check the Autodesk software hub for related tools. For official app documentation, visit the Autodesk official site.
Zoom in to at least 200–400% and sweep the edges of your artwork to ensure there are no stray or semi‑transparent pixels left from the erased background. Toggle other layers on and off to see how edges interact with different compositions. If you find faint halos, use a hard eraser at 100% opacity or refine the selection edge inward by 1–2 pixels before deleting. For precise cleanup, create a temporary solid color layer underneath (bright contrasting color), inspect edges, then remove that helper layer before final export. Finally, export as PNG with alpha transparency and re-open the file in a viewer to confirm the checkerboard or transparent background is intact and edges are clean.
When you need a transparent background in sketchbook, exporting correctly is key to keeping the alpha channel intact. Use File > Export (or Share > Export) and choose PNG as your format—specifically PNG‑24/PNG‑32 or “PNG with transparency” where available. Before exporting, confirm that any background layer is turned off or set to transparent and that hidden layers you want excluded remain hidden. If the export dialog offers a “flatten” or “merge layers” option, make sure it does not remove alpha transparency: either disable flattening or select an option that explicitly preserves transparency.
Avoid JPG entirely for assets that require transparent areas, since JPEG does not support an alpha channel and will fill transparent regions with a background color. For best fidelity, export at the native canvas resolution or a multiple of it to avoid resampling artifacts, and keep a layered project file as your master so you can re-export different sizes without quality loss. For broader software compatibility or licensing information, see the SoftAuthentic Autodesk collection or visit the official Autodesk website.
Quick checklist before export: turn off the background layer, confirm hidden layers are hidden, choose PNG (not JPG), and verify the export’s flatten option will preserve alpha. If a “transparent background” toggle exists, enable it and preview the file in an image viewer that supports transparency to confirm edges and anti‑aliasing look correct. Keeping a layered source file makes iterative tweaks painless and prevents repeated full‑rebuilds of your artwork.
When exporting a transparent background in Sketchbook, start by selecting PNG-24 or the standard PNG option that includes an alpha channel. Ensure any background or canvas layer is hidden (visibility off) so the alpha is saved instead of a filled color. Choose the final export resolution and disable any “flatten” or “merge with background” options that would remove transparency.
For related software resources, see the Autodesk software hub.
When importing a PNG from Sketchbook into Autodesk apps (Revit, AutoCAD, Fusion 360, etc.), you’ll want to preserve the transparent background in sketchbook exports and confirm the receiving application reads the alpha channel. Always export from Sketchbook with the background layer hidden and save a 24‑bit PNG with alpha. In many Autodesk products there’s an explicit option — for example in AutoCAD you may need to enable the application’s image transparency setting so the PNG’s alpha shows through layers and geometry.
General checklist: confirm the file contains an alpha channel, select the “use image transparency” or equivalent toggle in the import dialog, and place the image on a layer or material that doesn’t add a background color. Revit and other AEC tools sometimes treat images differently on sheets versus model views, so choose the placement that supports raster transparency — see Revit for Windows for product-specific notes. If an image arrives with a solid rectangle, try re‑exporting from Sketchbook, using a decal/canvas workflow in the target app, or converting to a transparent TIFF as a fallback.
Practical tips: avoid interlaced PNGs, keep resolution appropriate for your output (screen vs print), and test in a blank file first. These small steps prevent unexpected backgrounds and make overlays, decals, and presentation sheets look clean and professional.
Quick workflow: in Sketchbook hide the background layer, choose Export > PNG (make sure “transparent” or alpha is preserved), and name the file. In the Autodesk app use the image/canvas/decal import tool and look for an import option like “use image transparency,” “preserve alpha,” or raster settings that respect background transparency. If that option is missing, place the image on a dedicated layer with no fill or apply it as a decal/material that reads alpha channels. For authoritative product behavior and updates, consult the official Autodesk documentation on product pages at Autodesk product pages.
When you need a transparent background in sketchbook or other Autodesk workflows, the key is the combination of a proper source file and the product’s import settings. Start with an image that contains an alpha channel (PNG or TIFF with transparency). Before importing, open the product-specific insert or import dialog and look for options like “Maintain transparency,” “Use alpha channel,” or a transparency checkbox—these preserve the clear areas instead of filling them with white.
If you work in Revit or AutoCAD, consult the product documentation—see the Revit product page for specifics and the official AutoCAD overview for import behavior.
If you’re troubleshooting transparent background in sketchbook exports, a common surprise is seeing a solid white background after export. First, re-open the exported PNG in a full editor (Photoshop, GIMP, Affinity) and verify an alpha channel exists. If the alpha channel is present, the file has transparency and the white you saw came from the viewer; if not, recreate the export while ensuring the background layer is hidden or deleted.
When exporting, choose PNG with alpha (often labeled PNG-24 or PNG-32) or a format that explicitly supports transparency — do not export to JPEG. Check Sketchbook’s export options for any “matte” or background color settings that could composite transparent pixels against white. If the app offers “export visible layers” versus “flatten,” pick the option that preserves transparency. Also be mindful of premultiplied alpha settings; some viewers interpret premultiplied files differently, producing a white fringe if the export wasn’t configured correctly.
If problems persist, confirm the viewing application supports transparency — some OS thumbnail viewers and simple image viewers display a white backdrop. Open the file in an editor to test. For software or download needs related to Autodesk products, see the Autodesk listings for installers and support.
Quick checklist: hide or delete the background layer before export; select PNG with transparency; avoid JPEG; check for a “transparent background” or “alpha” checkbox during export; and test the PNG in an editor rather than relying on thumbnails. On mobile, use the app’s Export → PNG (transparent) option or save a copy with transparency enabled. If you still see white edges, try exporting with a different color profile or toggling premultiplied alpha. For official guidance and troubleshooting resources, visit Autodesk’s help pages.
If you need a transparent background in sketchbook, start by thinking in terms of masks, selections, and subtle layer blending rather than brute-force erasing. Use a selection tool to isolate the subject, then refine the edge by feathering slightly and contracting the selection by 1–2 pixels to remove leftover fringe. Instead of erasing on the original layer, work nondestructively: duplicate the layer, hide the background, and refine edges with a soft eraser or a layer mask so you can restore pixels if needed.
Layer blending modes and opacity adjustments can help remove color halos: place a sampled color layer beneath the subject and nudge opacity or use blend modes to visually cancel fringe colors before finalizing transparency. For fine hair or fur, paint a manual mask with a small, low-opacity brush to preserve strands while eliminating background noise.
When dealing with complex backgrounds, rely on precise selection tools (lasso, polygonal, or magic-wand/selection-by-color) and work in small segments. Export masked groups or flattened masked layers as PNG with alpha to retain the transparency and edge integrity. Always preview your transparent export over a mid-tone and a dark background to confirm there are no visible artifacts.
For related software and workflow resources, see the Autodesk software collection, or consult the Autodesk official site for product-specific export settings.
Begin by selecting your subject precisely — use polygonal or freehand selection for straight edges and the selection-by-color tool for broader areas. After selecting, inverse the selection and delete the background on a duplicated layer. To clean fringes, contract the selection by 1–2 px and apply a tiny feather (0.5–1 px), then touch up remaining pixels with a small soft eraser or paint directly on a mask. Create a temporary fill layer underneath (mid-gray and black) to check edges at different contrasts.
For export, flatten only the masked group and save as a PNG with alpha channel. If the project is complex, keep a layered file and export multiple masked groups to preserve maximum quality for later edits.
When placing artwork over new backgrounds, subtle halos or hard edges betray a rushed mask. Use layer masks rather than erasing: paint black to hide and white to reveal so edges remain editable. Start by zooming in and sampling edge colors, then paint with a soft low-opacity brush to gently feather the transition.
Use the refine-edge options or the Gaussian blur on the mask to remove microscopic fringing; follow with a threshold or levels adjustment on the mask to recover crispness where needed. For color fringing, add a small layer set to Color mode and sample nearby tones to paint out contamination. Work with a duplicate layer and toggle visibility to compare the blend against light and dark backgrounds.
Export as a PNG with transparency and test placement. For more on compatible Autodesk tools and workflow tips, see the Autodesk resource hub. For official product details visit the Autodesk site.



 Autodesk
 Design Softwares
 CorelDraw
 Affinity V2
 Microsoft & Windows
 Windows
 Microsoft 365