- Instant email delivery
- Global licenses
- Secure checkout
- 24/7 customer support
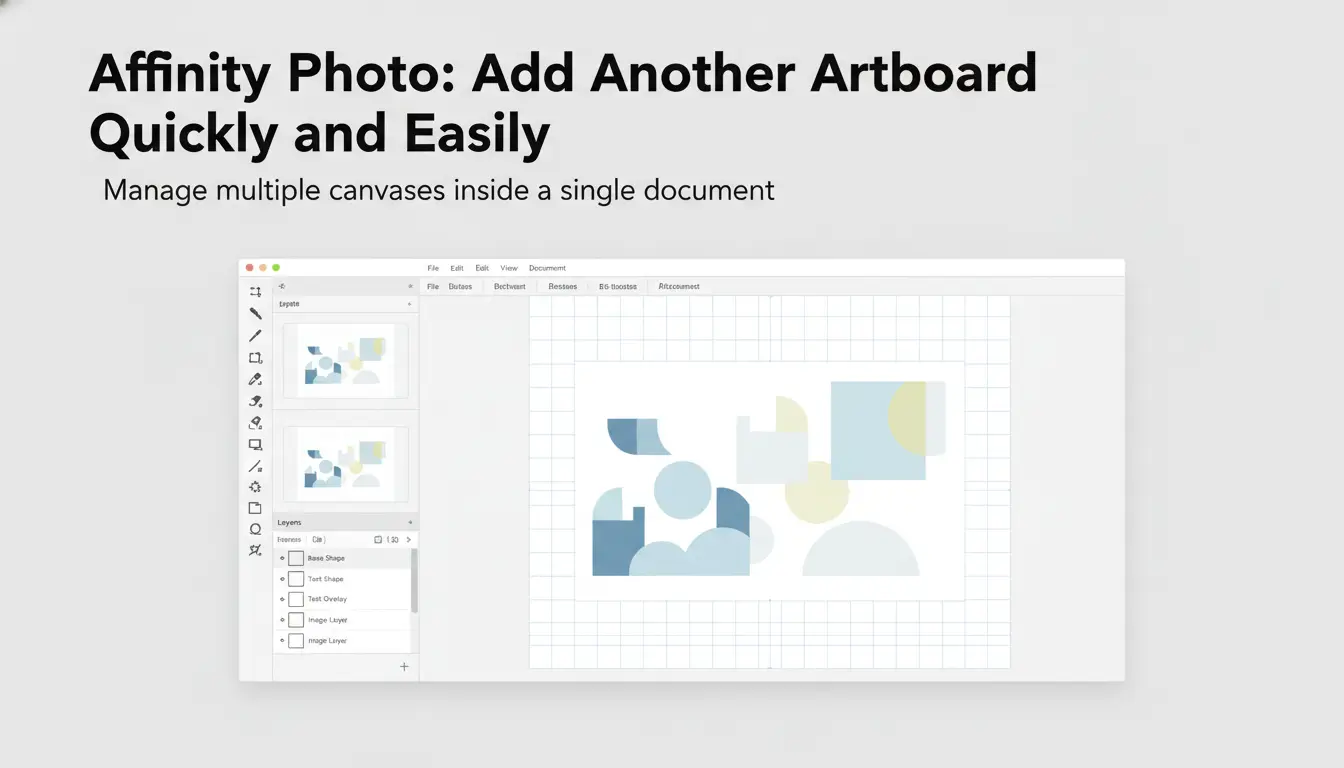
affinity photo supports artboards to help you manage multiple canvases inside a single document. Rather than juggling separate files for each page, artboards keep related designs together so you can reuse layers, copy assets between canvases, and export a set of related images in one action. This structure is ideal for multi-page mockups, social-media variations, or iterative design options where consistency matters. Artboards also simplify alignment and grid management across variants, while maintaining individual export settings for each board.
That said, there are situations where separate documents make more sense: extremely large or complex files that tax memory, projects requiring distinct color profiles or package-ready deliverables per file, or workflows that involve strict version control and handoff. For a balanced approach, keep lighter variations as artboards and move heavy, final-ready versions to their own files. For more on Affinity releases and tools, see the Affinity V2 information page.
Use artboards when you need tight iteration and easy exports: creating multiple sizes for a campaign, showing layout options to clients, or building a set of UI assets. Artboards let you update a master asset and propagate changes, reducing repetitive edits. Choose separate files when performance, archival clarity, or differing technical specs are priorities — for example, print-ready layouts with unique color profiles or very large layered documents.
For practical steps and official guidance on setting up artboards and exporting them efficiently, consult Affinity’s getting-started resources.
An artboard is a defined canvas area that behaves like a page inside your document. In affinity photo, artboards let you organize multiple layouts or versions in a single file, constrain objects to a specific page-like region, and control what gets exported. They’re ideal for multi-page mockups, slices for web assets, or keeping alternate compositions neatly separated.
Think of an artboard as both a visual boundary and an export frame: layers can extend beyond it but you choose whether to include overflow when exporting. You can set size, orientation, and bleed per artboard, arrange several on one canvas, and align elements precisely for consistent layouts. For designers moving between vector and raster tools, artboards simplify output and production workflows.
Learn more about Affinity tools on the official site: Affinity Photo official page, or explore purchasing options like Affinity v2 at SoftAuthentic.
When you create a new file in affinity photo, set the page size, resolution and color space before adding artboards so every export behaves predictably. Start with the target output in mind—print typically requires 300 ppi and a CMYK profile, while web and screen work sit comfortably at 72–150 ppi in sRGB. In the New Document dialog choose units, margins and bleed, name the file, and save a working copy. If you don’t yet have the app, see the Affinity V2 details for licensing and download options.
Open the Pages panel first to decide whether you’ll use multiple pages or several artboards within a single page—pages make versioning and exports clearer for multi-layout projects. Keep layers tidy: create folders for backgrounds, type, images and effects, and use clear names so collaborators can jump in. In Document Setup assign the correct ICC profile and use soft-proofing to check color shifts before export. For mixed raster/vector projects, rasterize or flatten only the layers that need it to preserve editability elsewhere. Always export a proof at the intended resolution and color space, and save a labeled master file (for example, filename_master.afphoto) plus client-ready exports. For a quick walkthrough of these controls, consult the official getting started guide.
In affinity photo, the Artboard Tool makes it quick to add a named canvas area you can edit independently. Select the Artboard Tool from the Tools toolbar, then either click-and-drag on the canvas to draw a custom artboard or choose a preset from the context toolbar for common sizes (web, print, mobile). When you create an artboard it appears as a distinct layer entry with its own name and bounds, so objects placed inside remain tied to that artboard and won’t shift other artboards as you work.
Tips: hold Shift while drawing to constrain proportions, use the Transform controls to resize without stretching contents, and enable snapping to align artboards precisely. Because each artboard is effectively a layout container, exporting multi-artboard documents preserves each artboard as a separate file or page depending on export settings. If you’re considering alternatives or upgrades, see purchase options for Affinity V2 at Soft Authentic.
The Artboard Tool organizes artwork into manageable, exportable layouts. After creating an artboard, click its name in the Layers panel to select that entire layout — editing, moving or locking it independently. Use guides and margins per artboard for consistent spacing and enable slices or export presets to produce individual assets. For official downloads and trial options, visit the Affinity site to get Affinity Photo and other apps.
In affinity photo, creating an artboard is quick and precise. Select the Artboard Tool (press A), then click and drag on the canvas to define the artboard bounds. As soon as you release, use the context toolbar to give the artboard a clear name and choose a preset size or custom dimensions.
If you need finer control, open the Transform panel to set exact X/Y coordinates, width, height and rotation. Use the Layers panel to reorder or nest artboards, and lock or hide them while you work. To duplicate, Alt-drag (Option-drag on Mac) the artboard; to resize uniformly, hold Shift while dragging a corner handle.
These simple steps keep layouts organized and export-ready. For official guidance, see the Affinity getting started guide, and for related Affinity tools and licensing, visit Affinity V2 information.
In Affinity Photo, duplicating an artboard is a fast way to create variations without rebuilding layouts. To copy an artboard, right‑click it in the Layers or Pages panel and choose Duplicate, or hold Alt (Option on Mac) and drag the artboard to a new position — the copy will appear offset so you can place it quickly. Duplication preserves the entire layer structure and objects, including groups and effects, so your precise composition remains intact.
After duplication, double‑click the artboard name in the Layers or Pages panel to rename it for clarity. Use the Move tool with snapping enabled to align the new artboard to guides or other objects. If you need multiple copies, multi‑select artboards in the Pages panel and use Duplicate from the context menu to repeat the process; this is handy for iterative design, A/B testing, or exporting several size variants.
Keep in mind performance: very large documents with many high‑resolution raster layers can slow down when duplicating; if you only need structure, consider rasterizing or temporarily hiding heavy layers before duplicating. For purchase or upgrade options, see Affinity V2 details. For official feature information and downloads, visit the Affinity Photo official site.
Quick checklist when duplicating artboards in affinity photo: 1) Use right‑click → Duplicate for a safe copy that keeps all layers and masks. 2) Alt/Option‑drag when you want a visual, on‑canvas copy. 3) Rename immediately to avoid confusion in complex files. 4) If you rely on linked external assets, verify links after duplication to ensure they point where you expect. Finally, group related layers on the duplicated artboard or convert them to a nested layer to keep the workspace tidy as you iterate.
One of the quickest ways to duplicate an artboard in Affinity Photo is to hold Alt (Windows) or Option (Mac) and drag the artboard with the Move tool. The dragged copy is created in place so you can immediately reposition it, keeping the original unchanged. This is ideal when iterating layouts or creating several versioned canvases.
After duplicating, rename the new artboard right away in the Layers panel or the Context toolbar—use a clear convention like “Homepage_v2” or a date stamp to avoid confusion later. Use snapping and alignment controls to line up duplicates, and lock any source layers you don’t want to move.
If you want step‑by‑step help getting started, see the official Affinity getting started guide, or learn about Affinity releases at Affinity V2 on SoftAuthentic.
affinity photo gives you fast, flexible control when you need to resize or move artboards. For quick changes, use the context toolbar that appears when an artboard is selected — type new Width and Height values or drag the artboard handles on-canvas for immediate visual feedback. When you need exact dimensions, open the Transform panel and enter numeric values; enable the lock icon to preserve aspect ratio, or choose different units (px, in, mm) to match your output requirements.
To reposition an artboard precisely, set its X and Y values in the Transform panel or use the reference point to anchor your placement. Nudge selected artboards with the arrow keys; add Shift for larger increments. Enable snapping and Smart Guides so artboards align to other objects, guides, or the canvas edge. For multiple artboards, use the Align and Distribute options to space or line them up evenly, and consider grouping or duplicating artboards for consistent layouts.
Small habits save time: lock artboards you’re not editing, rename them in the Layers panel, and check the context toolbar for quick unit swaps and orientation toggles. If you’re managing many pages, switching between on-canvas dragging and precise Transform entries will keep layouts consistent and predictable. For more about Affinity apps and licensing, see the Affinity V2 lifetime license page.
When exact placement matters, the Transform panel is your most reliable tool: enter numeric Width/Height and X/Y values, and choose a reference point to control which corner or center is anchored. Toggle the lock to maintain proportions, and use the unit selector to match export requirements. Turn on snapping and the Snapping Manager to align artboards to guides, objects, or pixel boundaries — this prevents subtle misalignment that shows up at export.
Use the Align panel to distribute multiple artboards evenly, and combine Align with Smart Guides for on-the-fly visual feedback. For step-by-step instructions and troubleshooting, consult Affinity’s getting started guide.
affinity photo makes exporting artboards flexible: you can output a single artboard, a selected range, or all artboards as separate files. To begin, switch to the Export persona or choose File > Export and enable the Artboards option. In that dialog you’ll see checkboxes or a range field where you can target specific artboards by number. Use the preview to verify slices and how each artboard will be cropped.
Choose the output formats you need — PNG, JPEG, TIFF, SVG or PDF — and set resolution, color space, and quality for each format. When you enable slices for artboards, the export process produces individual files named by artboard number or title; you can also add a custom filename prefix. For multi-format exports, Affinity Photo can create a separate file per artboard per format in one operation, which is ideal for generating web assets and print-ready images simultaneously. If you want advanced control over naming and destinations, use the Export persona’s options to set folders and overwrite rules before confirming Export.
For a quick comparison of Affinity versions and purchasing options, check the Affinity V2 information page.
1. Open the Export persona or go to File > Export and enable Artboards. 2. Select individual artboards via checkboxes or enter a numeric range (for example, 1-4,6). 3. Pick one or more formats and adjust DPI, color profile, and quality per format. 4. Use the slices preview to confirm each artboard will be exported as a separate file and set a filename prefix if desired. 5. Choose an output folder and export. For a concise walkthrough and troubleshooting, see the official getting started guide from Affinity.
Exporting finished work from Affinity Photo means choosing the right format (PNG, JPEG, PDF or TIFF) and setting DPI and scale to match the final output. For screens use JPEG at 72–96 DPI with moderate compression; for print export at 300 DPI (or 2× scale for high-res prints) and prefer PDF or TIFF to avoid artifacts. Use PNG-24 when you need full transparency and lossless color.
Save export presets that capture format, color space (sRGB vs CMYK), DPI, scale and compression so every project uses consistent settings. Presets speed batch exports and reduce mistakes when handing files to printers or clients. If you want a stable, updated workflow consider the Affinity V2 lifetime offering, or get the app directly from the official Affinity download page.
Organize your files and canvas from the start to keep work moving smoothly. Use consistent naming conventions for layers and artboards so you can jump between versions and assets without hunting. Group related layers, convert repeating elements into Symbols, and use nested groups to collapse complexity — this reduces selection time and makes keyboard shortcuts far more effective. Learn a handful of shortcuts you use daily (zoom, hand tool, duplicate layer, toggle visibility) and practice them until they become muscle memory.
If artboards or elements seem to disappear, first check the View options and your Studio panels — hidden artboards, disabled layers or accidental masks are common culprits. Toggle rulers, guides and snapping to see whether an object is off-canvas; try the Layers panel to reveal and re-select items. Save incremental versions (file_v1, file_v2) rather than relying solely on Undo, and enable autosave where available so you can roll back without losing hours of work. For licensing or download details, see this concise resource on Affinity v2 details if you’re comparing editions or need a quick purchase link.
When unexpected behavior persists after checking view and layer settings, restart the app and your computer to clear transient issues. If a document won’t open or tools act erratically, export a flattened copy or a PSD to preserve work, then relaunch. For step-by-step guidance, troubleshooting articles and official documentation, visit the Affinity help center — it’s the fastest way to resolve crashes, tool bugs or platform-specific quirks.



 Autodesk
 Design Softwares
 CorelDraw
 Affinity V2
 Microsoft & Windows
 Windows
 Microsoft 365