- Instant email delivery
- Global licenses
- Secure checkout
- 24/7 customer support
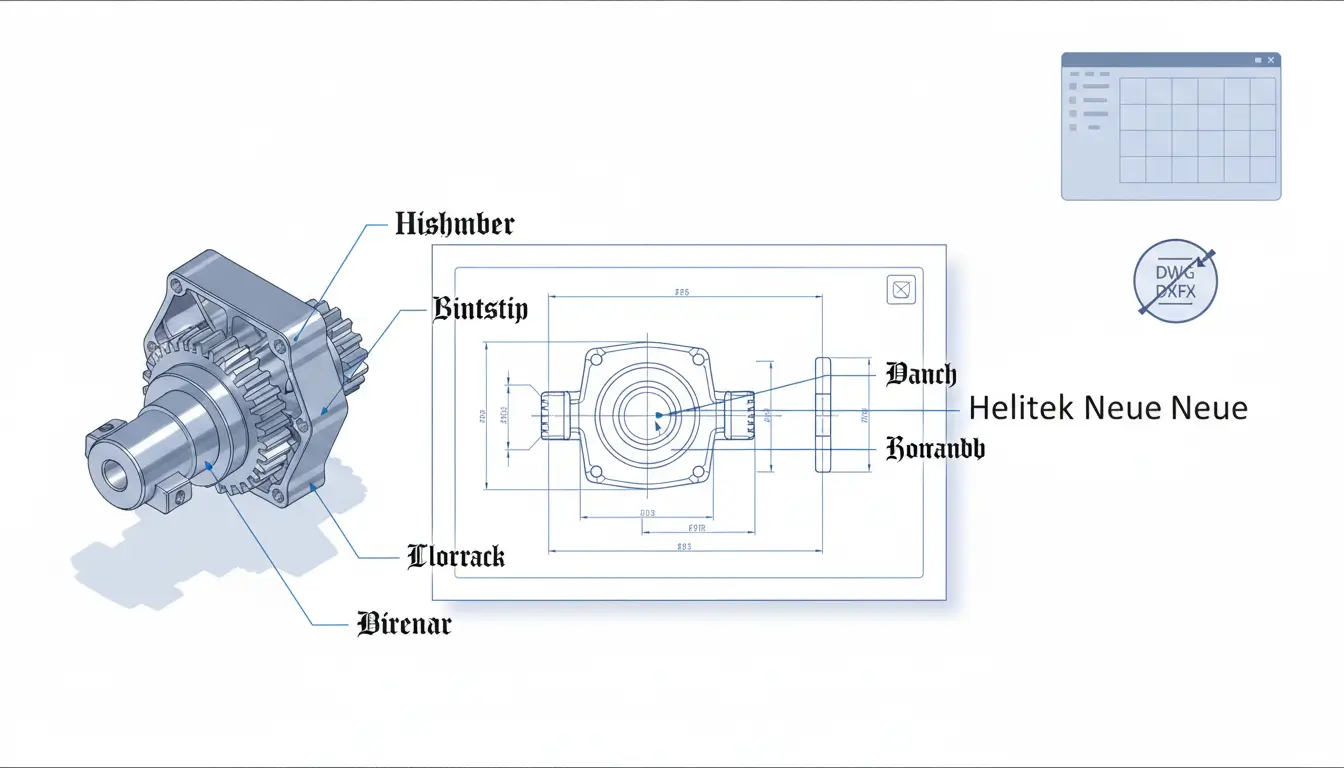
In Inventor, fonts do more than set style — they directly affect part labels, annotations, drawing notes and exported DWG/DXF files. When a drawing uses nonstandard or missing fonts, viewers see substitutions that shift spacing, break alignments, and can obscure critical dimensions or notes. Print shops and downstream reviewers may get different results if the original font isn’t available, turning a neat parts list into a layout nightmare.
Consistent fonts reduce display and printing problems: choose widely supported TrueType fonts or standard CAD fonts for annotations, and keep text styles uniform across templates and title blocks. Before exporting, verify text styles in the drawing resources and run a quick print preview to catch wrapping or clipping. If you exchange DWG/DXF with others, consider packaging font files or standardizing on a vetted set of fonts for the project so recipients don’t see replacements.
For teams using the full Inventor suite, include font conventions in your project template and share them with collaborators — this small step prevents large downstream issues. If you need the complete Inventor package or to standardize installs across a team, consider the Inventor full package as part of your software setup.
Keep fonts predictable by using a short approved list (for example, Arial or other common TTFs) and avoid obscure or decorative fonts for critical annotations. Use the Drawing Resources > Text Styles to centralize changes so a single edit updates all notes. When exporting DWG/DXF, test files in AutoCAD or the recipient’s environment — AutoCAD’s handling of SHX vs TTF can differ — and include a screenshot or PDF as a backup if layout fidelity matters. For compatibility guidance and export best practices, consult AutoCAD documentation.
Inventor relies on Windows‑installed TrueType (.ttf) and OpenType (.otf) fonts for drawing annotations, dimensions and title block text. These font formats are read directly from the system font folder, so ensuring consistent fonts across machines (C:\Windows\Fonts) avoids substitution when opening models or drawings on other PCs.
Legacy AutoCAD SHX fonts are not native TrueType/OpenType and often require conversion or packaging when exchanging DWG/DXF files. When sharing with AutoCAD users, either convert SHX to a compatible .ttf/.otf, include the SHX files with the drawing, or export to a format that preserves text geometry to prevent unexpected font replacements.
For reliable collaboration, standardize on common TrueType/OpenType fonts and verify font availability before final plotting or publishing. Learn more about the Autodesk product offerings on the Inventor full package and on the Autodesk website.
When preparing a font for use in inventor or any CAD application, start by downloading the file from a trusted source. Prefer TrueType (.ttf) or OpenType (.otf) files — these formats preserve glyphs and kerning well for technical drawings. Avoid web-only formats like WOFF or variable fonts if you need reliable appearance inside desktop engineering tools.
After downloading, run an antivirus scan and check the file extension. If the font came in a ZIP, extract it first and inspect the contained files. Right-click the font file to confirm it is .ttf or .otf; if it’s another format, convert only with reputable converters.
To install on Windows: right-click the font file, choose Properties and click Unblock if present, then right-click again and select Install for all users (or Install). Alternatively, copy the font into C:\Windows\Fonts. Restart any open applications so they pick up the new font. For enterprise deployment, push the font via Group Policy or your software distribution tool to ensure system-wide availability.
After installing, launch Inventor and check font availability in text style or dimension style dialogs. If a font doesn’t appear, confirm it was installed for all users and that Inventor has been restarted. Some CAD software caches font metrics — a reboot can resolve lingering issues. Be mindful of licensing; fonts bundled with a product may not be licensed for distribution. For guidance on supported workflows or to obtain Inventor itself, see the Inventor full package. For official format guidance and product support, consult Autodesk’s product design resources.
To have your new font available in Inventor, install it into Windows first. You can do this quickly with either method below so the CAD application can read the font files.
After installation, fully close Inventor and then either log out and back in or restart the application so it refreshes the system font list. If Inventor still doesn’t show the font, check that the font appears in C:\Windows\Fonts and reboot the PC; rare permissions issues can require a system restart.
Need the installer or full suite? See the Inventor full package. For official Autodesk documentation, visit the Autodesk product design & manufacturing resources.
inventor picks up fonts installed in Windows, so the first step is to add the desired TrueType or OpenType font to your OS. After installation, restart Inventor so the program can detect the new family. You can then apply the font either globally through the Styles Editor or directly to individual text and annotation objects in parts, assemblies, and drawings.
To make a reusable change, open the Styles Editor (Manage > Styles Editor), expand the Text Styles category, and either modify an existing style or create a new one. Set the font family, weight, size, and other typographic properties there. Save your modified style into the active template to ensure future documents inherit the change.
For one-off labels and annotations, use the Text or Annotation tool in the ribbon, select the object, and change the font in the Properties palette. Dimensions and title blocks may reference specific text styles—update those styles to propagate the font across multiple annotations. If you need the Inventor installer or full package, see the Autodesk Inventor full package for Windows.
For guidance on font support and best practices within Autodesk’s ecosystem, consult Autodesk’s product design resources. After applying fonts, save templates and check existing drawings for overridden text elements that might need manual updating.
1. Install the font in Windows and restart Inventor.
2. For global changes: Manage > Styles Editor > Text Styles → create/modify → set font family → save to template.
3. For single items: use the Text/Annotation tool, select the object, change font in Properties.
4. Update title blocks and dimensions by editing their referenced text styles, then save the template and open drawings to confirm the changes.
Open the Styles Editor (or Drawing Resources when working in an IDW/DWG) to change fonts used for notes, titles, and dimension text. Confirm the font is installed on Windows (TrueType/OpenType) before selecting it. In Styles Editor, edit the Text or Annotation style, choose the new font family, set size, justification, and any annotation-specific overrides, then click Apply or OK to commit changes.
For drawings, update title block and dimension styles so printed sheets and exported PDFs use the new font consistently. If you maintain company templates, save the updated styles into your template file so future drawings inherit them. Occasionally Inventor requires a restart to refresh font lists; verify by reopening the drawing.
If you need software or resources, see the Inventor full package for purchasing options and Autodesk product design resources for official documentation.
If a font doesn’t appear in Inventor, begin with the simplest checks first. Open the Windows Fonts folder (C:\Windows\Fonts) and confirm the font is installed and visible system-wide. Try the font in Notepad or Word to verify the OS recognizes it; if it doesn’t show there, Inventor won’t either. Restarting Inventor often clears transient issues—close the program completely and relaunch. If the font remains missing, the file may be corrupt: open it with the Windows Font Viewer to see if a preview renders, or reinstall the font from a trusted source.
Permissions and blocking are common culprits. A font copied from another machine can be blocked by Windows or restricted to a single user account; install it for “All Users” and check the file’s Properties for an “Unblock” option. Also ensure the account running Inventor has read access to the font file. If you suspect caching problems, clear the Windows font cache (stop the Windows Font Cache Service, delete the cache files, then restart the service and Inventor).
If problems persist after these steps, you may want to confirm compatibility (TrueType/OpenType vs. legacy formats) and consider reinstalling Inventor or testing on another workstation. For details on installing or updating Inventor, see the Inventor full package page for your version.
First, right-click the font file and choose Properties to look for an “Unblock” checkbox or restrictive permissions under Security. Confirm file size and that the preview opens; empty or truncated files indicate corruption. Re-download the font from a reputable source and install it for all users. If a font works in Windows apps but not in Inventor, run Inventor as administrator once to test whether elevated rights change behavior—if it does, adjust file permissions rather than routinely running elevated. For official guidance on supported font types and troubleshooting steps, consult Autodesk support and documentation.
If you see substituted or missing fonts in Inventor, start simple and work up: run the application as an administrator, then clear the Windows font cache and reinstall the problem font. Many issues are caused by corrupted cache entries or improperly installed TTF/OTF files.
Back up any custom fonts before changing them. If problems persist, consult the Autodesk resources or your product page for version‑specific guidance: Autodesk Inventor full package and Autodesk support.
inventor users exchanging DWG/DXF need to plan fonts deliberately: when a recipient’s system lacks a font, the CAD viewer or editor substitutes a different one, which can shift alignment, alter text extents, and change sheet layout. Start every handoff by identifying whether annotations use SHX, TTF, or system fonts, and prefer widely available TrueType fonts for critical dimensions and notes. Keep text styles simple, avoid obscure custom fonts for essential labels, and document any custom families in a brief transfer README so collaborators can install them before opening files.
Before sending, audit files for unresolved font references and consider exporting a PDF as a visual reference alongside the DWG/DXF. Where appropriate, include exported exploded text or block references to lock critical callouts. Use standardized text styles and templates across the project to limit variability, and run a quick test on a colleague’s machine if timelines allow. If your workflow relies on AutoCAD compatibility, lean on its font handling settings and communicate which fallback fonts to accept. For reference on AutoCAD handling, see the AutoCAD product page.
Make a short, repeatable checklist: (1) list all fonts used in the drawing, (2) preferentially use common TTFs or SHX built into major CAD apps, (3) bundle any custom fonts with the DWG/DXF package, and (4) provide a PDF for visual verification. Share an installation note so recipients can add fonts before opening files. If your team uses Autodesk Inventor, consider standardizing templates and exporting annotation-heavy sheets to DWG with embedded font instructions—learn more about the Autodesk Inventor full package for consistent setups.
For inventor projects, consistency of type across machines prevents layout shifts and missed labels. Use common system fonts (for example, Arial or Helvetica) whenever possible; they render reliably across Windows installs and reduce dependency headaches. If a specialty font is required, document it clearly in the project README and either include the licensed font files with the project bundle or provide explicit install instructions for every team member.
Before finalizing deliveries, test files on a clean workstation to confirm text fits, styles embed, and no substitution occurs. Note licensing terms—some fonts cannot be redistributed and must be purchased by each user. For CAD-specific workflows, consider packaging fonts alongside your assemblies and reference materials; the Autodesk Inventor package documentation is a useful starting point. For broader guidance on workflows and standards, see the Autodesk product design overview.
For reliable downloads, updates, and compatibility notes, always start with the official Autodesk channels and your local Inventor installation tools. Product pages and the Autodesk Account portal provide the latest installers, subscription entitlements, and platform compatibility guidance. If you use third‑party add‑ins or network licenses, confirm version compatibility before updating to avoid workflow interruptions.
To obtain Inventor and related Autodesk apps, visit the official Autodesk site for product overviews and downloads. You can also access the specific Inventor product page for installers, system requirements, and bundled options via the Autodesk Inventor product page. These sources include release notes, known‑issue lists, and recommended hotfixes that are essential for production environments.
Within an existing Inventor installation, the Help menu and Autodesk Desktop App will notify you of available updates and service packs. For enterprise deployments, export compatibility reports and run pilot upgrades on a subset of machines first. Back up project files and libraries before applying major updates.
If you maintain multiple Autodesk tools, review the interoperability matrices for suites and collections to ensure files move correctly between applications. When in doubt, consult Autodesk Knowledge Network articles and your reseller for tailored guidance on licensing migration, performance tuning, and long‑term support.
Keep inventor current by checking three places regularly: the Autodesk Account for downloadable installers, the Autodesk Desktop App for incremental patches, and the product release notes for compatibility details. Updates often include performance improvements and bug fixes but can also change behavior in edge cases—testing on representative models prevents surprises.
For multi‑user environments, coordinate updates with IT and communicate version changes to your team. Retain installers for at least the previous release so you can revert if necessary, and log any custom settings or templates to streamline recovery. If you need vendor guidance, your Autodesk reseller or the product pages linked above are good starting points.
For reliable downloads and licensing information about Autodesk Inventor, start at the Autodesk official site for product details, trial options, and subscription plans. For a ready-to-install distribution, consider the Inventor full package (SoftAuthentic), which bundles installers and activation guidance tailored for Windows. The official Autodesk page covers system requirements, supported workflows, and comparisons with other Autodesk tools so you can confirm compatibility before purchase. The SoftAuthentic package page provides a hands-on installer and step-by-step setup notes if you prefer a consolidated download and local installation support. If you manage multiple Autodesk tools, review subscription collections and support resources to optimize licensing. Contact Autodesk support for complex deployments or consult the package vendor for installation questions.



 Autodesk
 Design Softwares
 CorelDraw
 Affinity V2
 Microsoft & Windows
 Windows
 Microsoft 365